
A Mixed Berry Mead/Melomel being born
02/25/2018
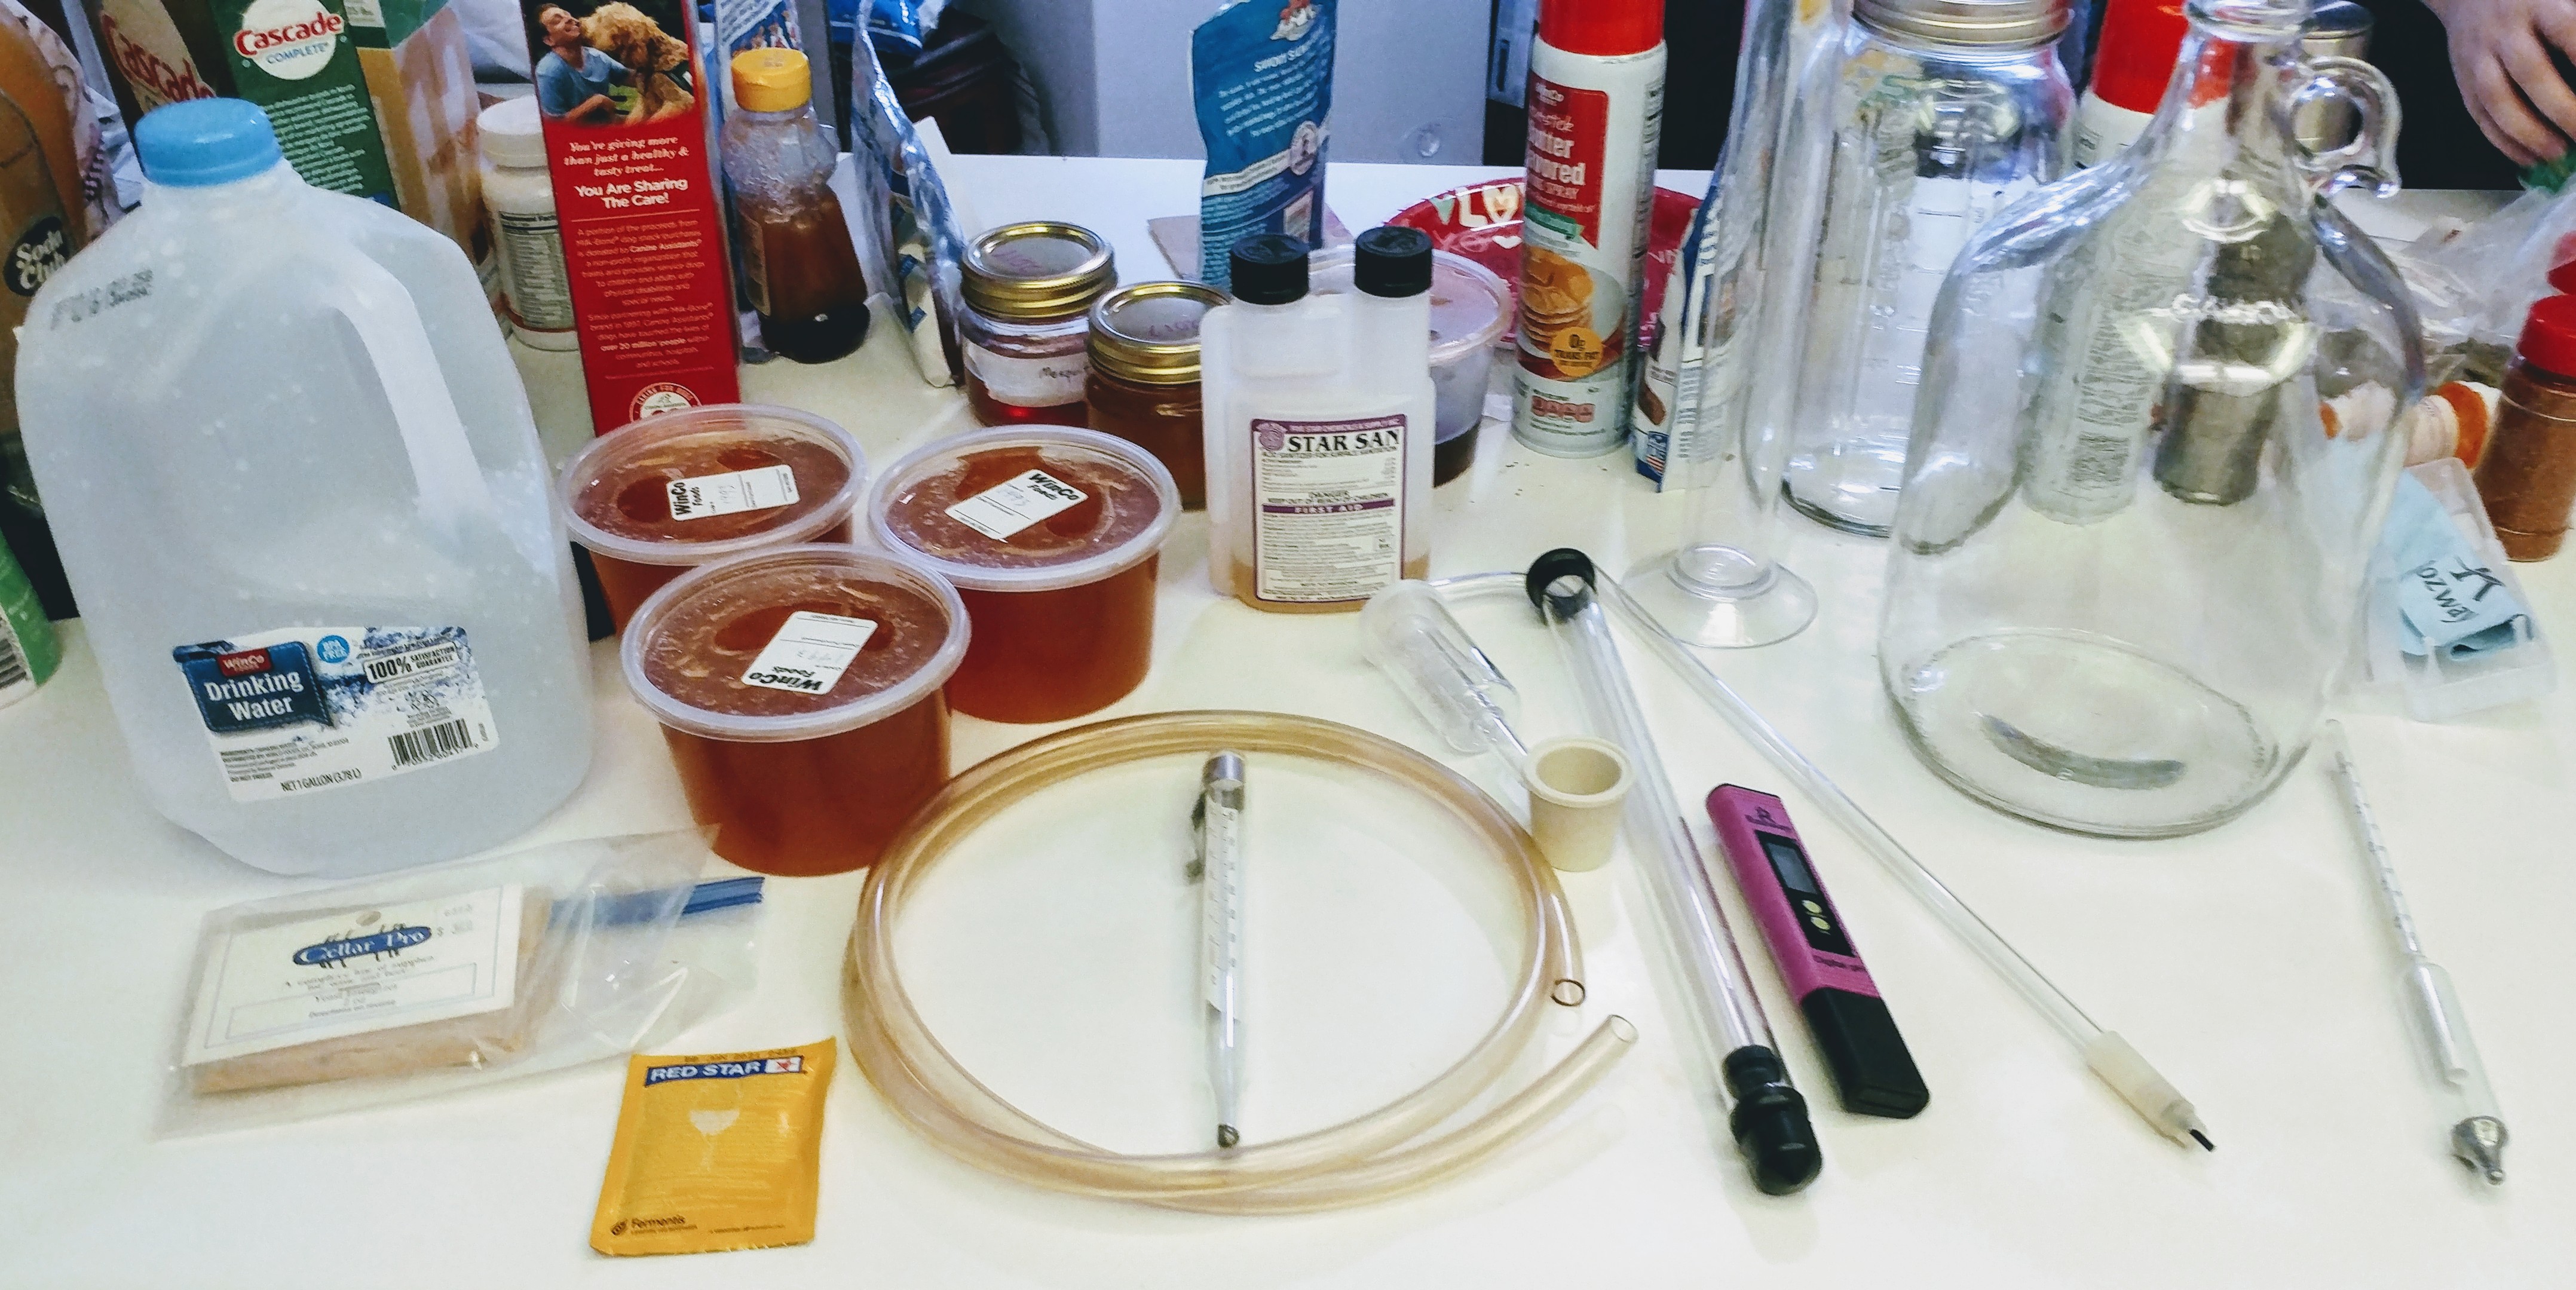
On Saturday, while doing some grocery shopping, I decided to pick up about three pounds of clover honey and a gallon of drinking water to start some mead. Sunday afternoon, after everyone had decided to take a nap, was the perfect time to put it all together. And here is all my mead making equipment on my messy counter. On the left is my water, honey, and yeast next to a packet of some yeast nutrient. Next to that is my siphon tube with my thermometer and a bottle of StarSan Sanitizer above it. Finally, I have my airlocks, siphon pump, pH meter, hygrometer, and racking cane (which I’m not using yet but wanted to show) next to the jug/carboy.
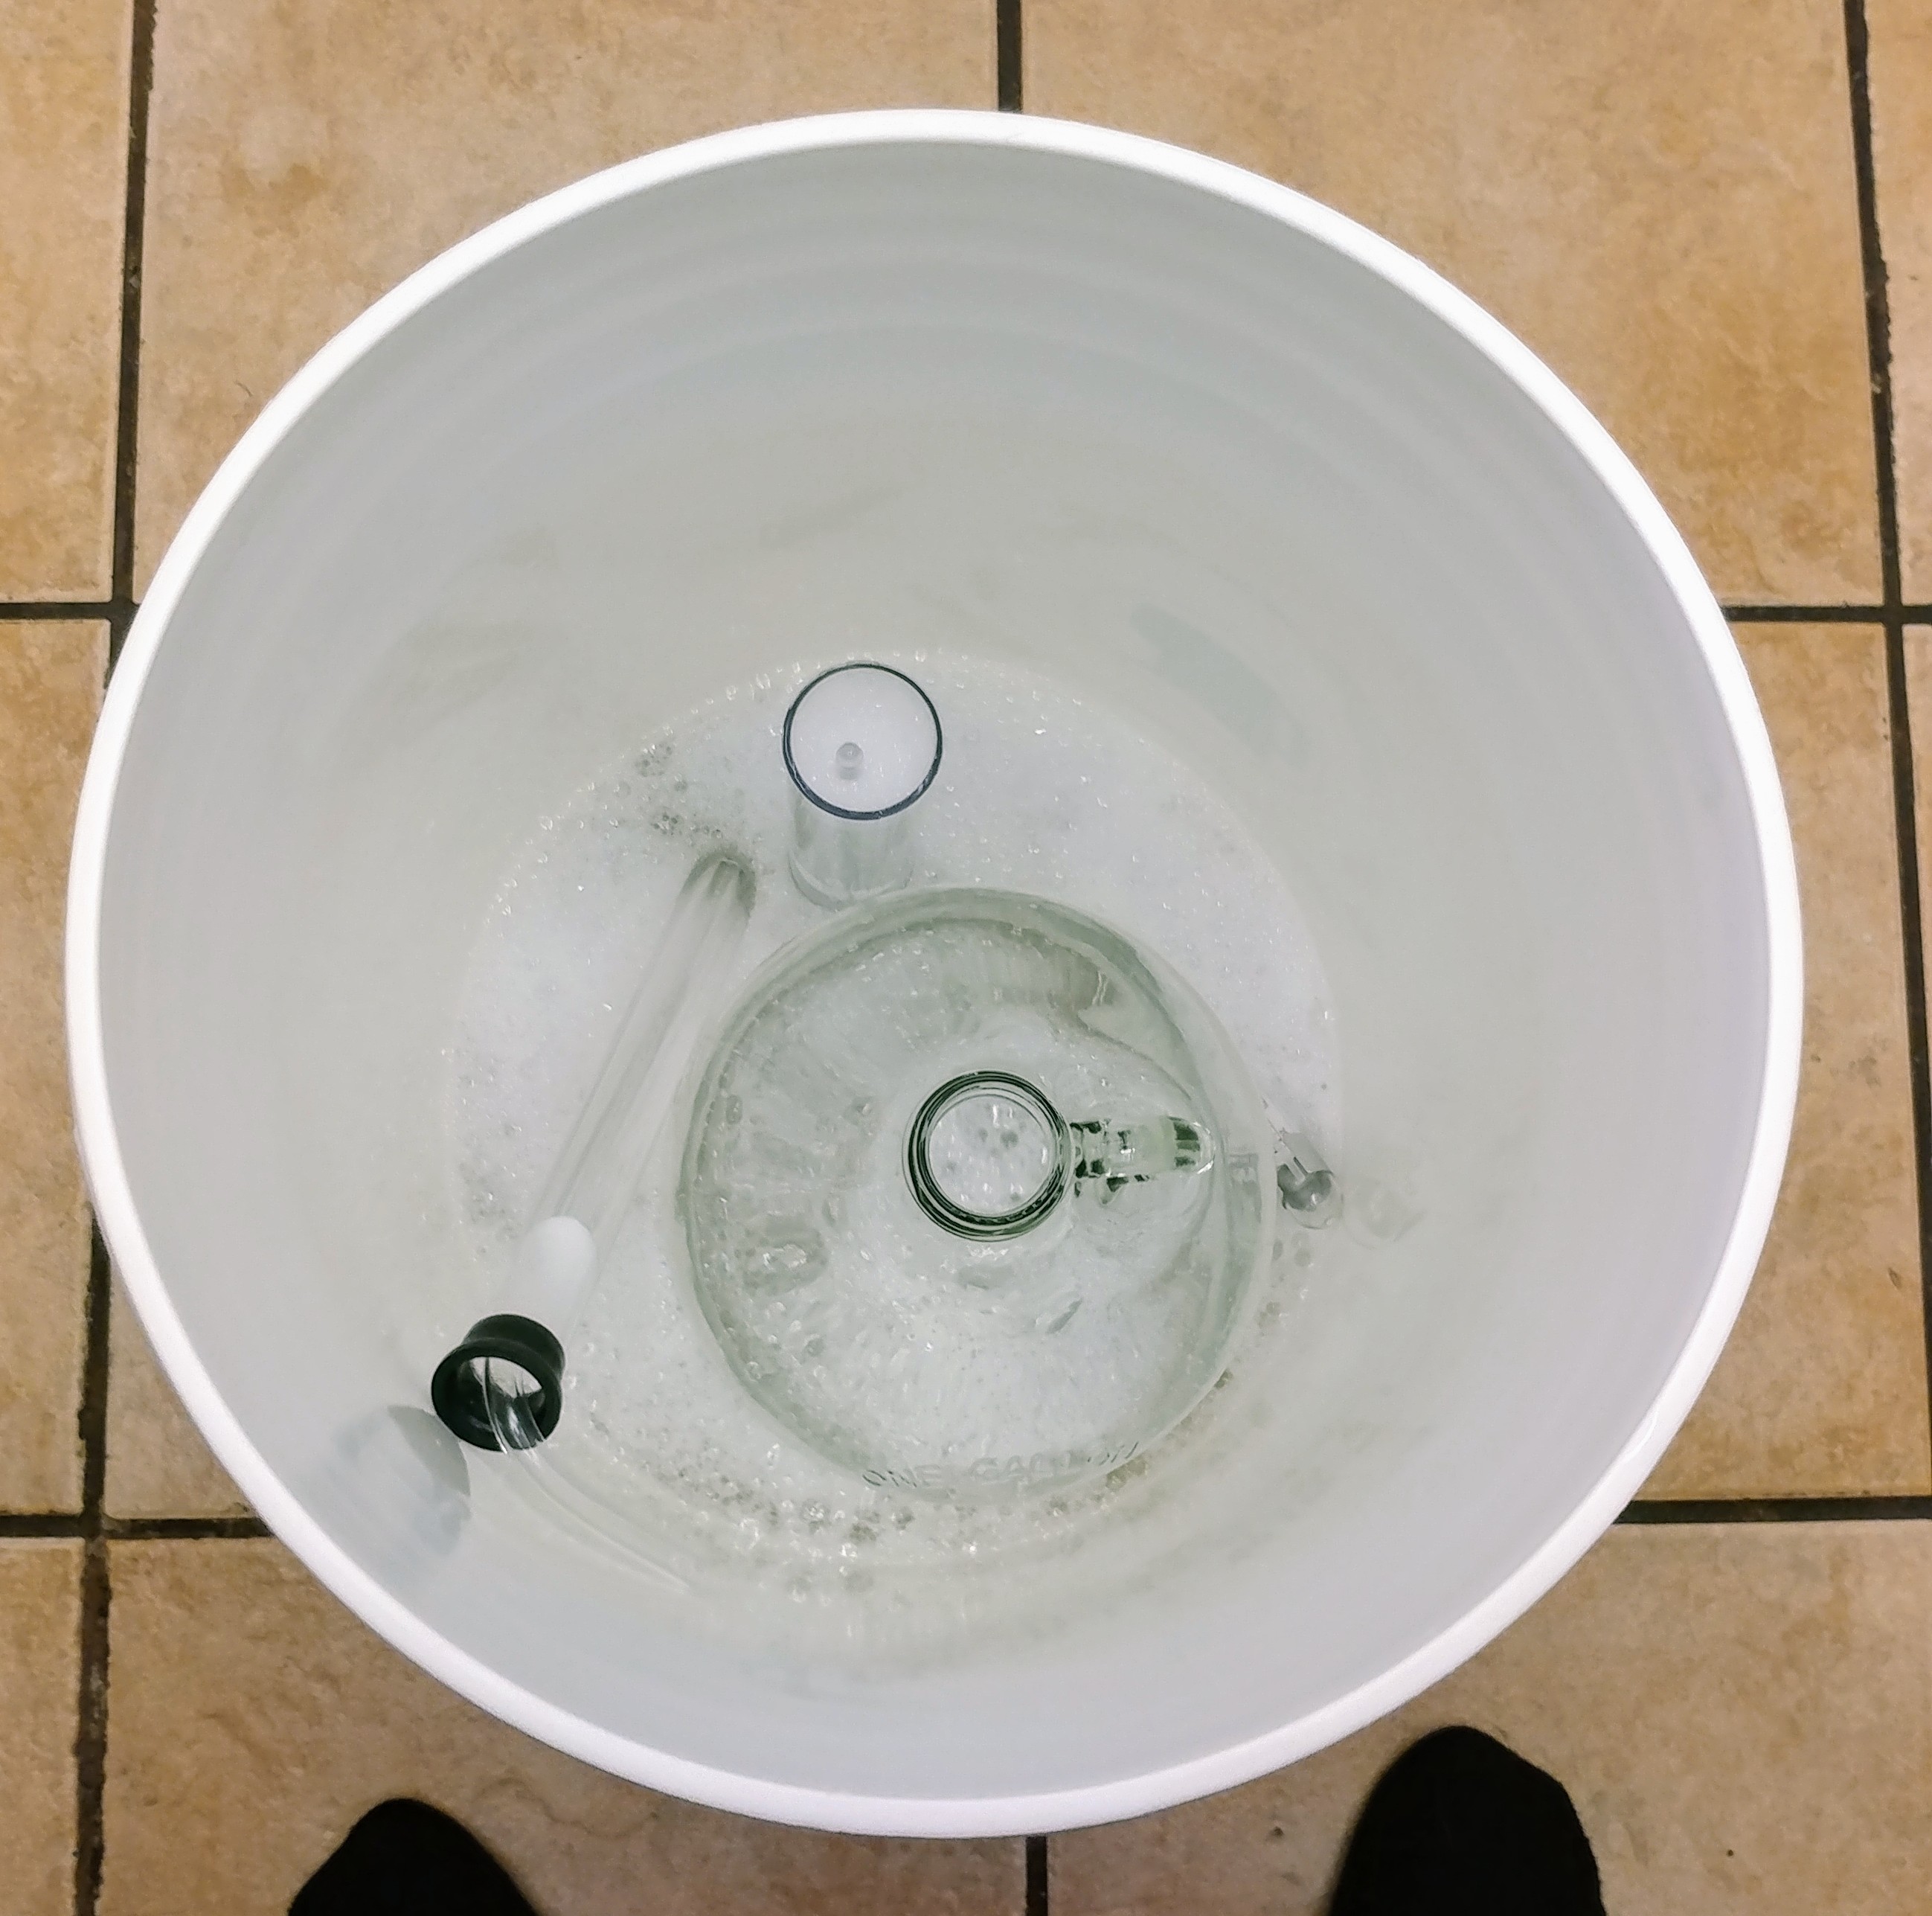
The first step in home brewing is to sanitize everything that will come into contact with the mead. I have a five-gallon fermenting bucket I use for brewing beer and place every think inside it with ¼ oz. of StarSan for a gallon of water. I let it sit in this bucket for several minutes while I wipe down the counters with some of the sanitizer. What you are trying to do with this step is remove as much bad bacteria from the environment to give the yeast a chance to overpower what might remain. I’ll keep this bucket full of sanitizer while I continue making mead to use to sanitized items if I need to reuse them later.
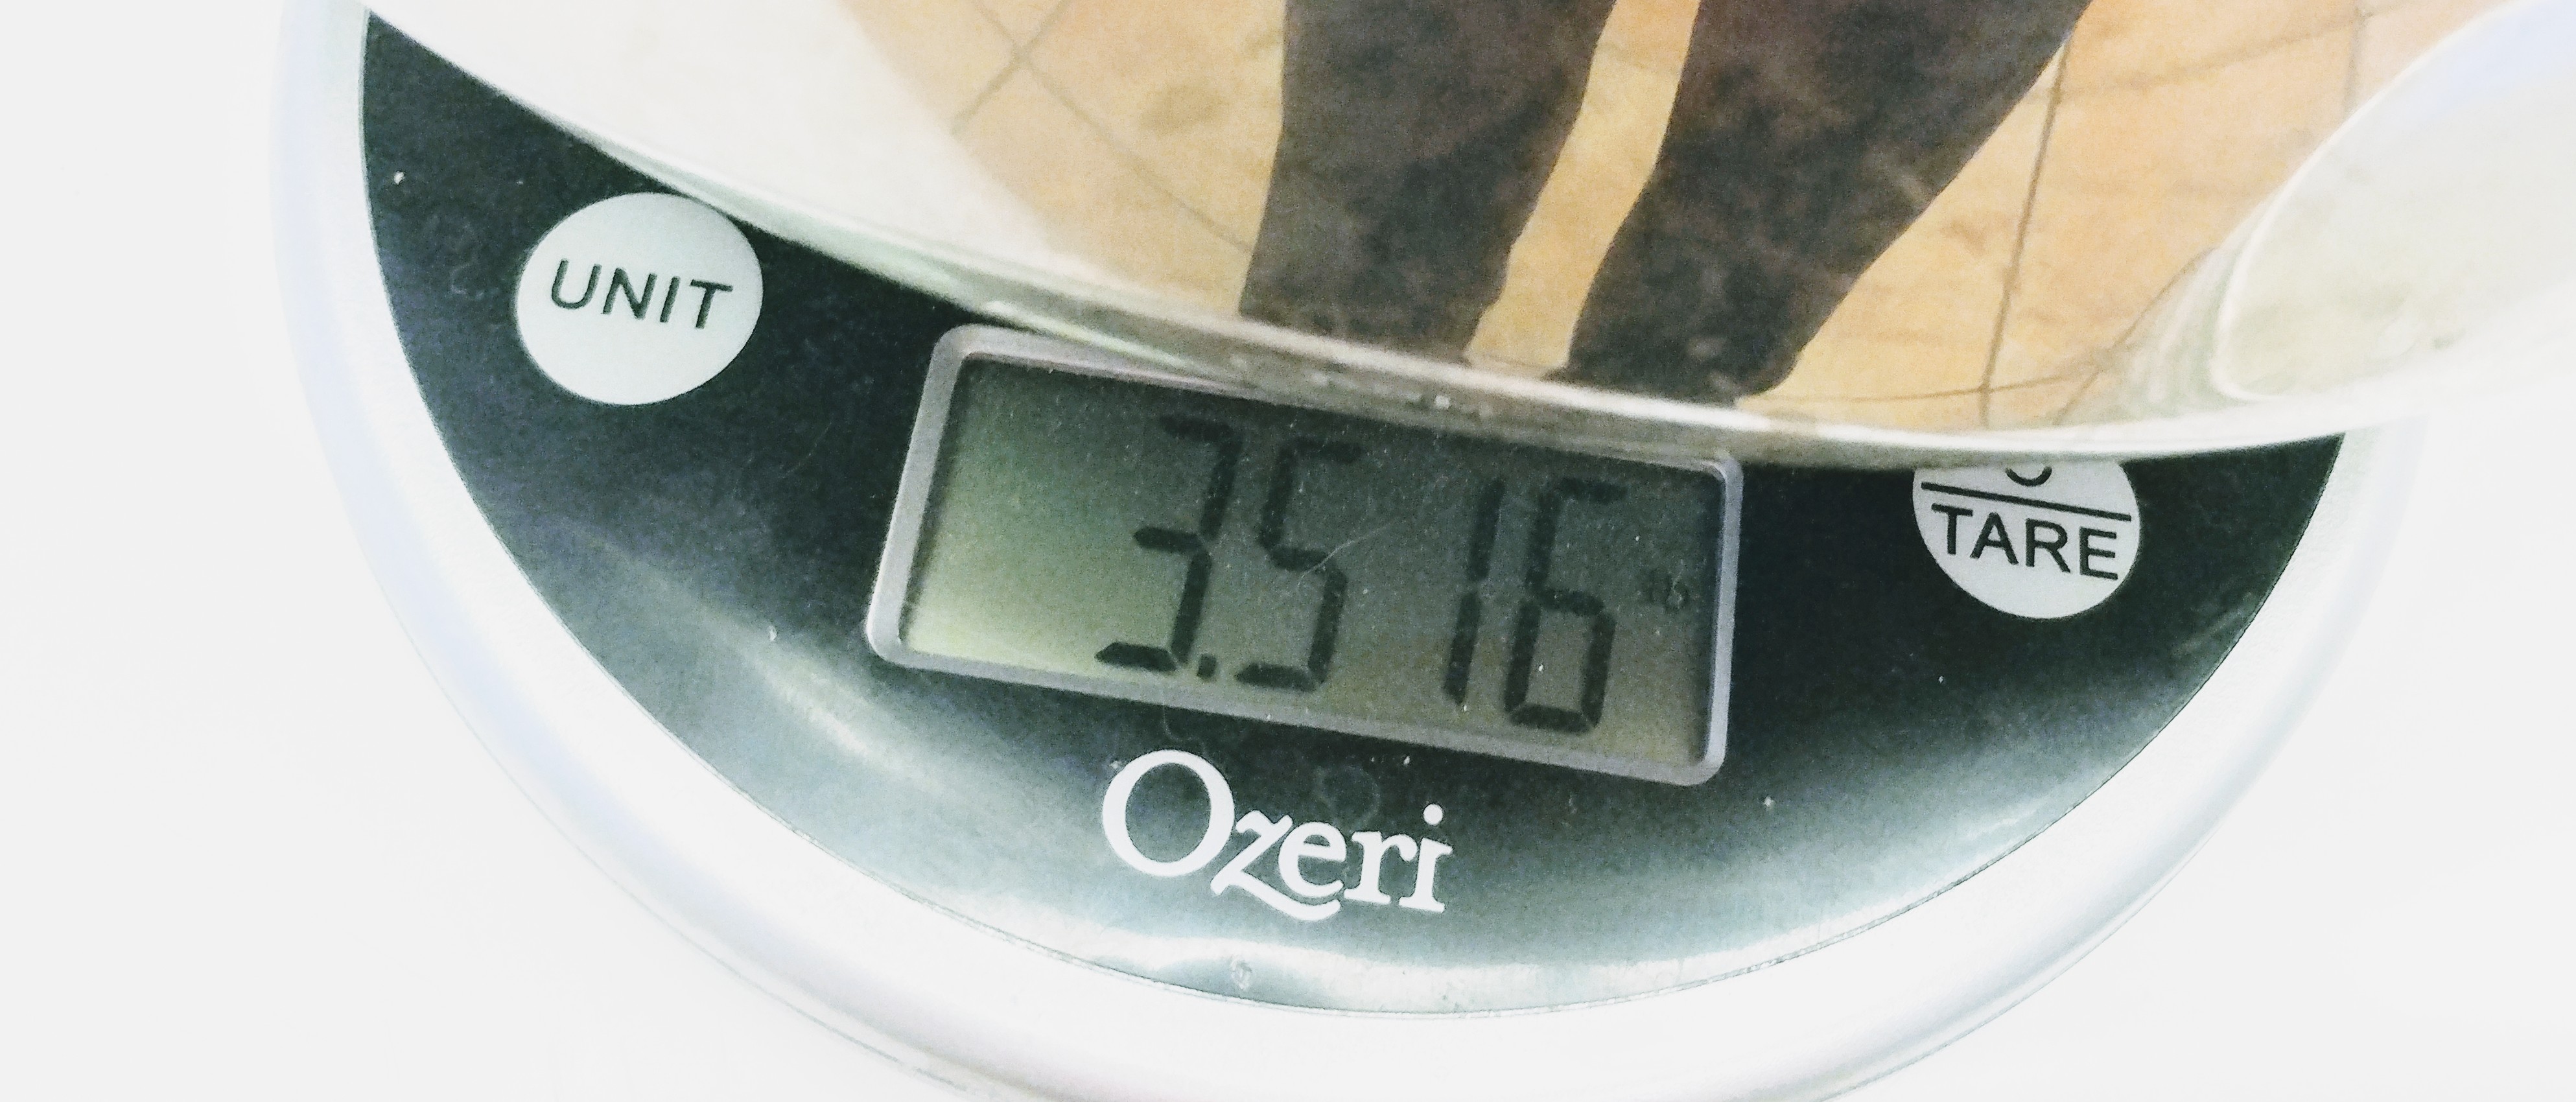
With a kitchen scale I picked up from the grocery store, I measure out 3.5 lbs. into a large pot that can hold at least one gallon. I’ve used smaller pots but have found that when I heat up the must, I can scorch it if I’m not careful. There are times when this is actually desirable such as when making a Bochet but not for most cases. Make sure to zero out the weight of the pot before adding any honey to it or your measurement will be off. This scale will do that automatically when you place the empty pot on the scale when you turn it on.
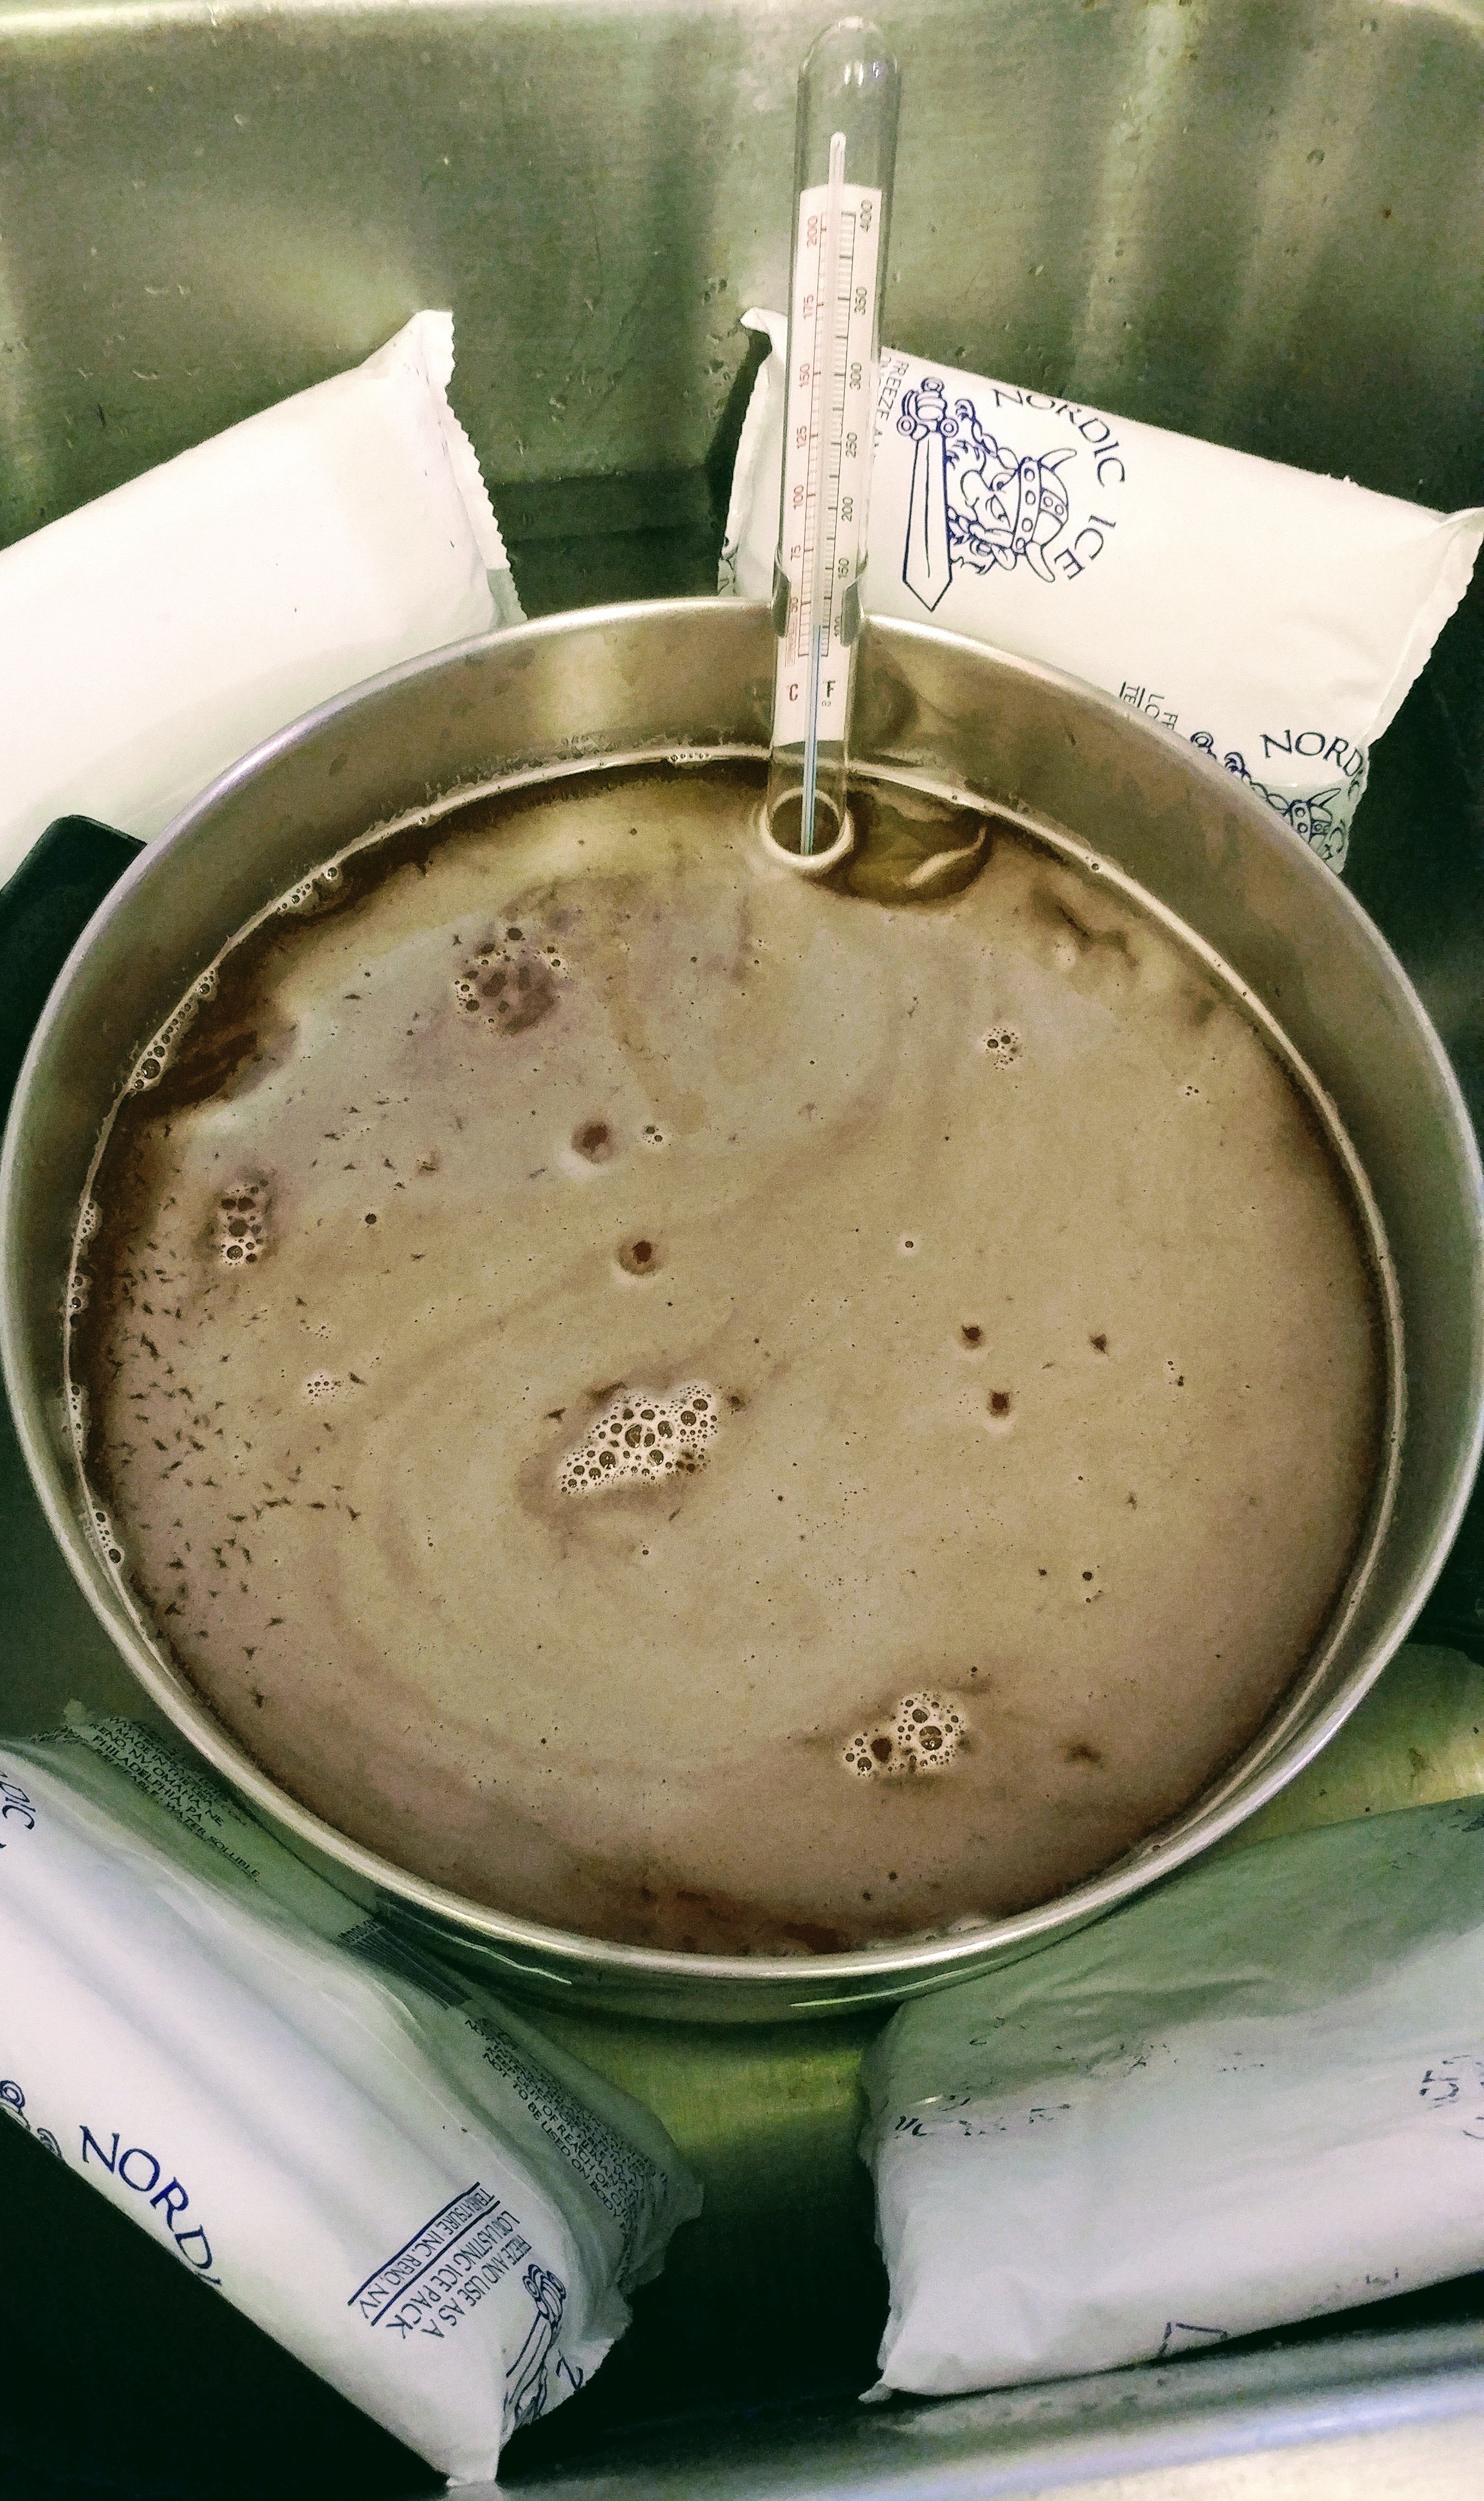
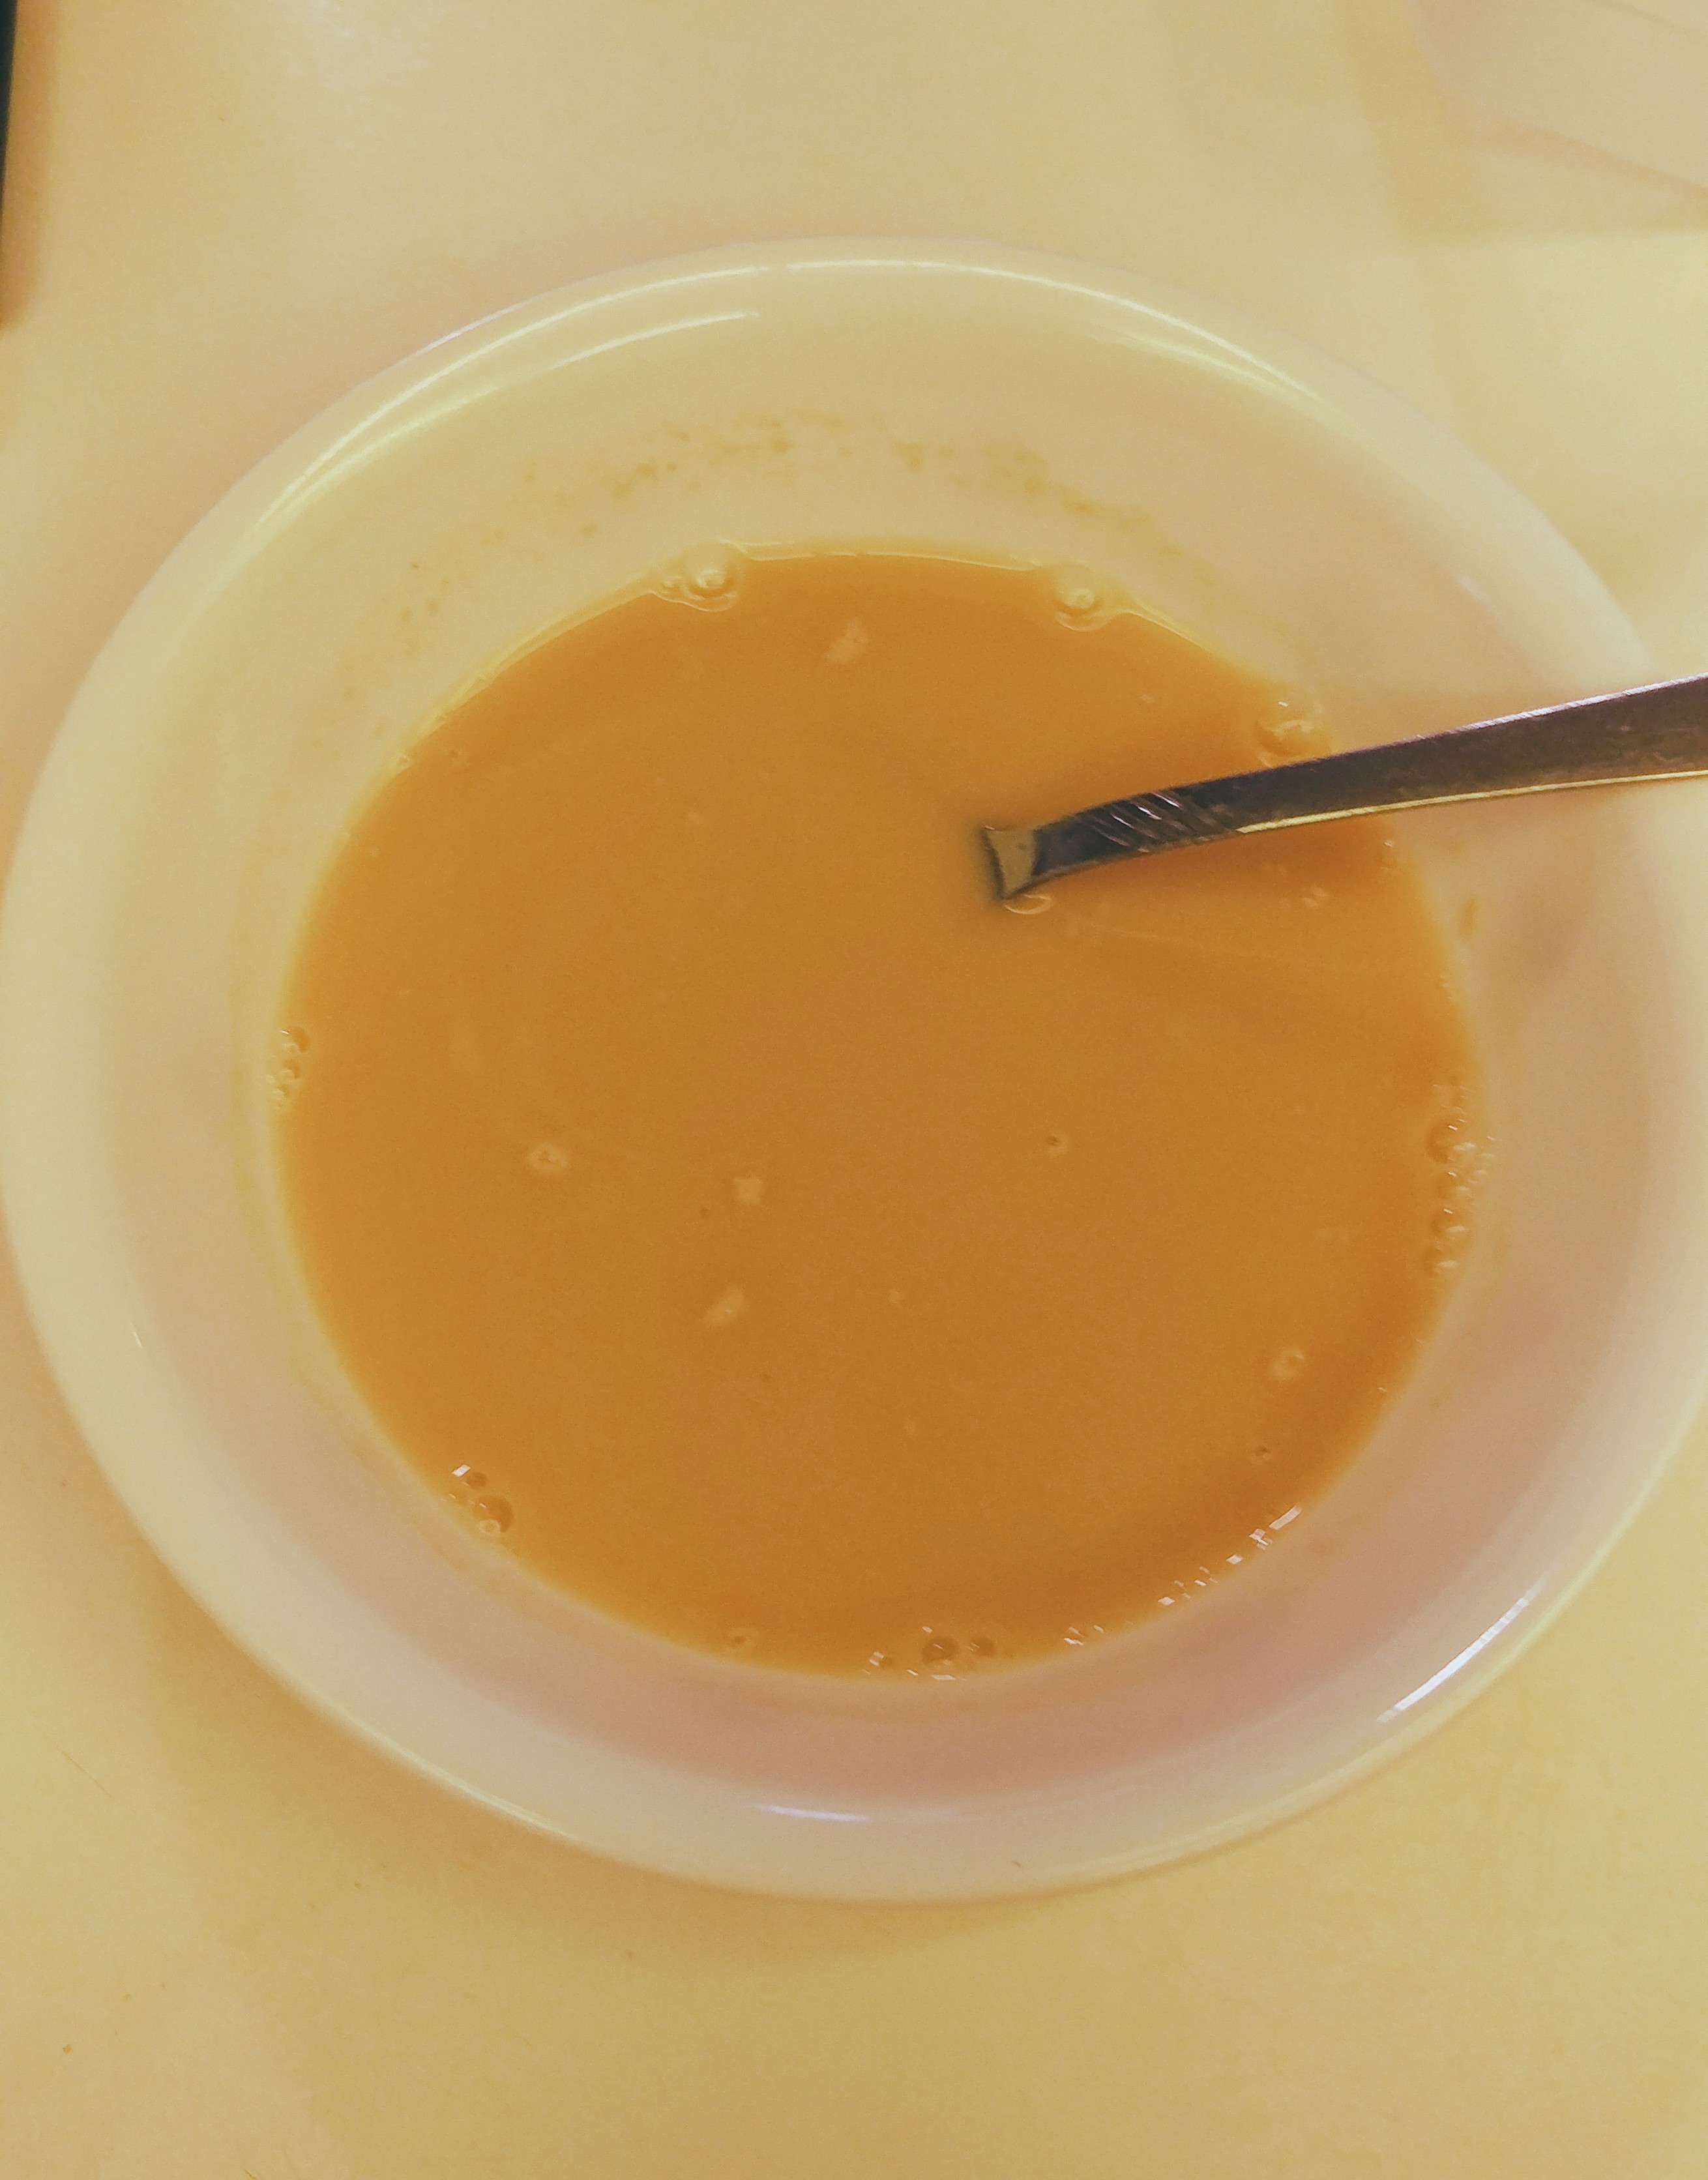
I heat up the must with a little water from rinsing out the honey containers to about 60c again to help kill any bacteria. As you can see from the picture, there can be a little carry-over so be aware of this and pull off the pot early. Some homebrewers will skip this step saying that it will change the flavor and they may be correct. But, I’ve found that skipping this step could introduce undesirable bacteria ruining all the sanitation you did earlier. I feel it’s just not worth the risk and have never noticed the difference in the flavor from heating it up.

I then cool the must down as quickly to room temperature as quickly as I can by placing it into an ice water bath. I also add the water to the pot at this time up to the one gallon mark on the pot. If one is not available, measure one gallon of water into the pot and mark a wooden spoon where the water level comes to. Placing it into an ice bath will cool the liquid down to room temperature in less than 30 minutes. Just keep stirring the liquid as it cools to breakup any hot spots that may form being careful not to agitate it too much.
While the must is cooling down to room temperature, you can activate the dry yeast getting it ready to be pitched. I take a small amount of the water that will go into the mead and add the dry yeast to it along with a ½ tsp. of nutrient to it. I mix this with a spoon until all the yeast has dissolved and I see little bubble rising to the surface. This tells me the yeast has become active and will give a good fermentation for the mead. Although I have just put in the dry yeast to the must without activating it, if you get a bad packet of yeast you’ll know at this point instead of wondering later.
Although I didn’t show in a picture as it would have been too complicated to do, I then siphoned the must into the jug/carboy. The pump has a little cap to prevent sucking up any leavings but as none will be in the must I just use a funnel to pour the remain in. The first time I made mead, I just used a funnel and jostled the pot make a sticky mess all over the counter and floor of the kitchen. Even though this means I have to have and clean another piece of equipment, it does make my job easier in the long run.
Finally, here is the picture of the clover honey mead made and in the jug with an airlock with a 50/50 mixture of alcohol and water in it. I use some cheap tequila that nobody wants to drink and add a little with some water to the airlock to help keep it clean. I’m going to make this into a mixed berry melomel but I’ve found that putting in the fruit into the secondary fermentation is less risky. By then, the alcohol content will be around 10% ABV and the risk of infection by adding fruit will be much lower. For now, it’s just a simple clover honey mead low in flavor and color but high in sugar for the yeast to consume.

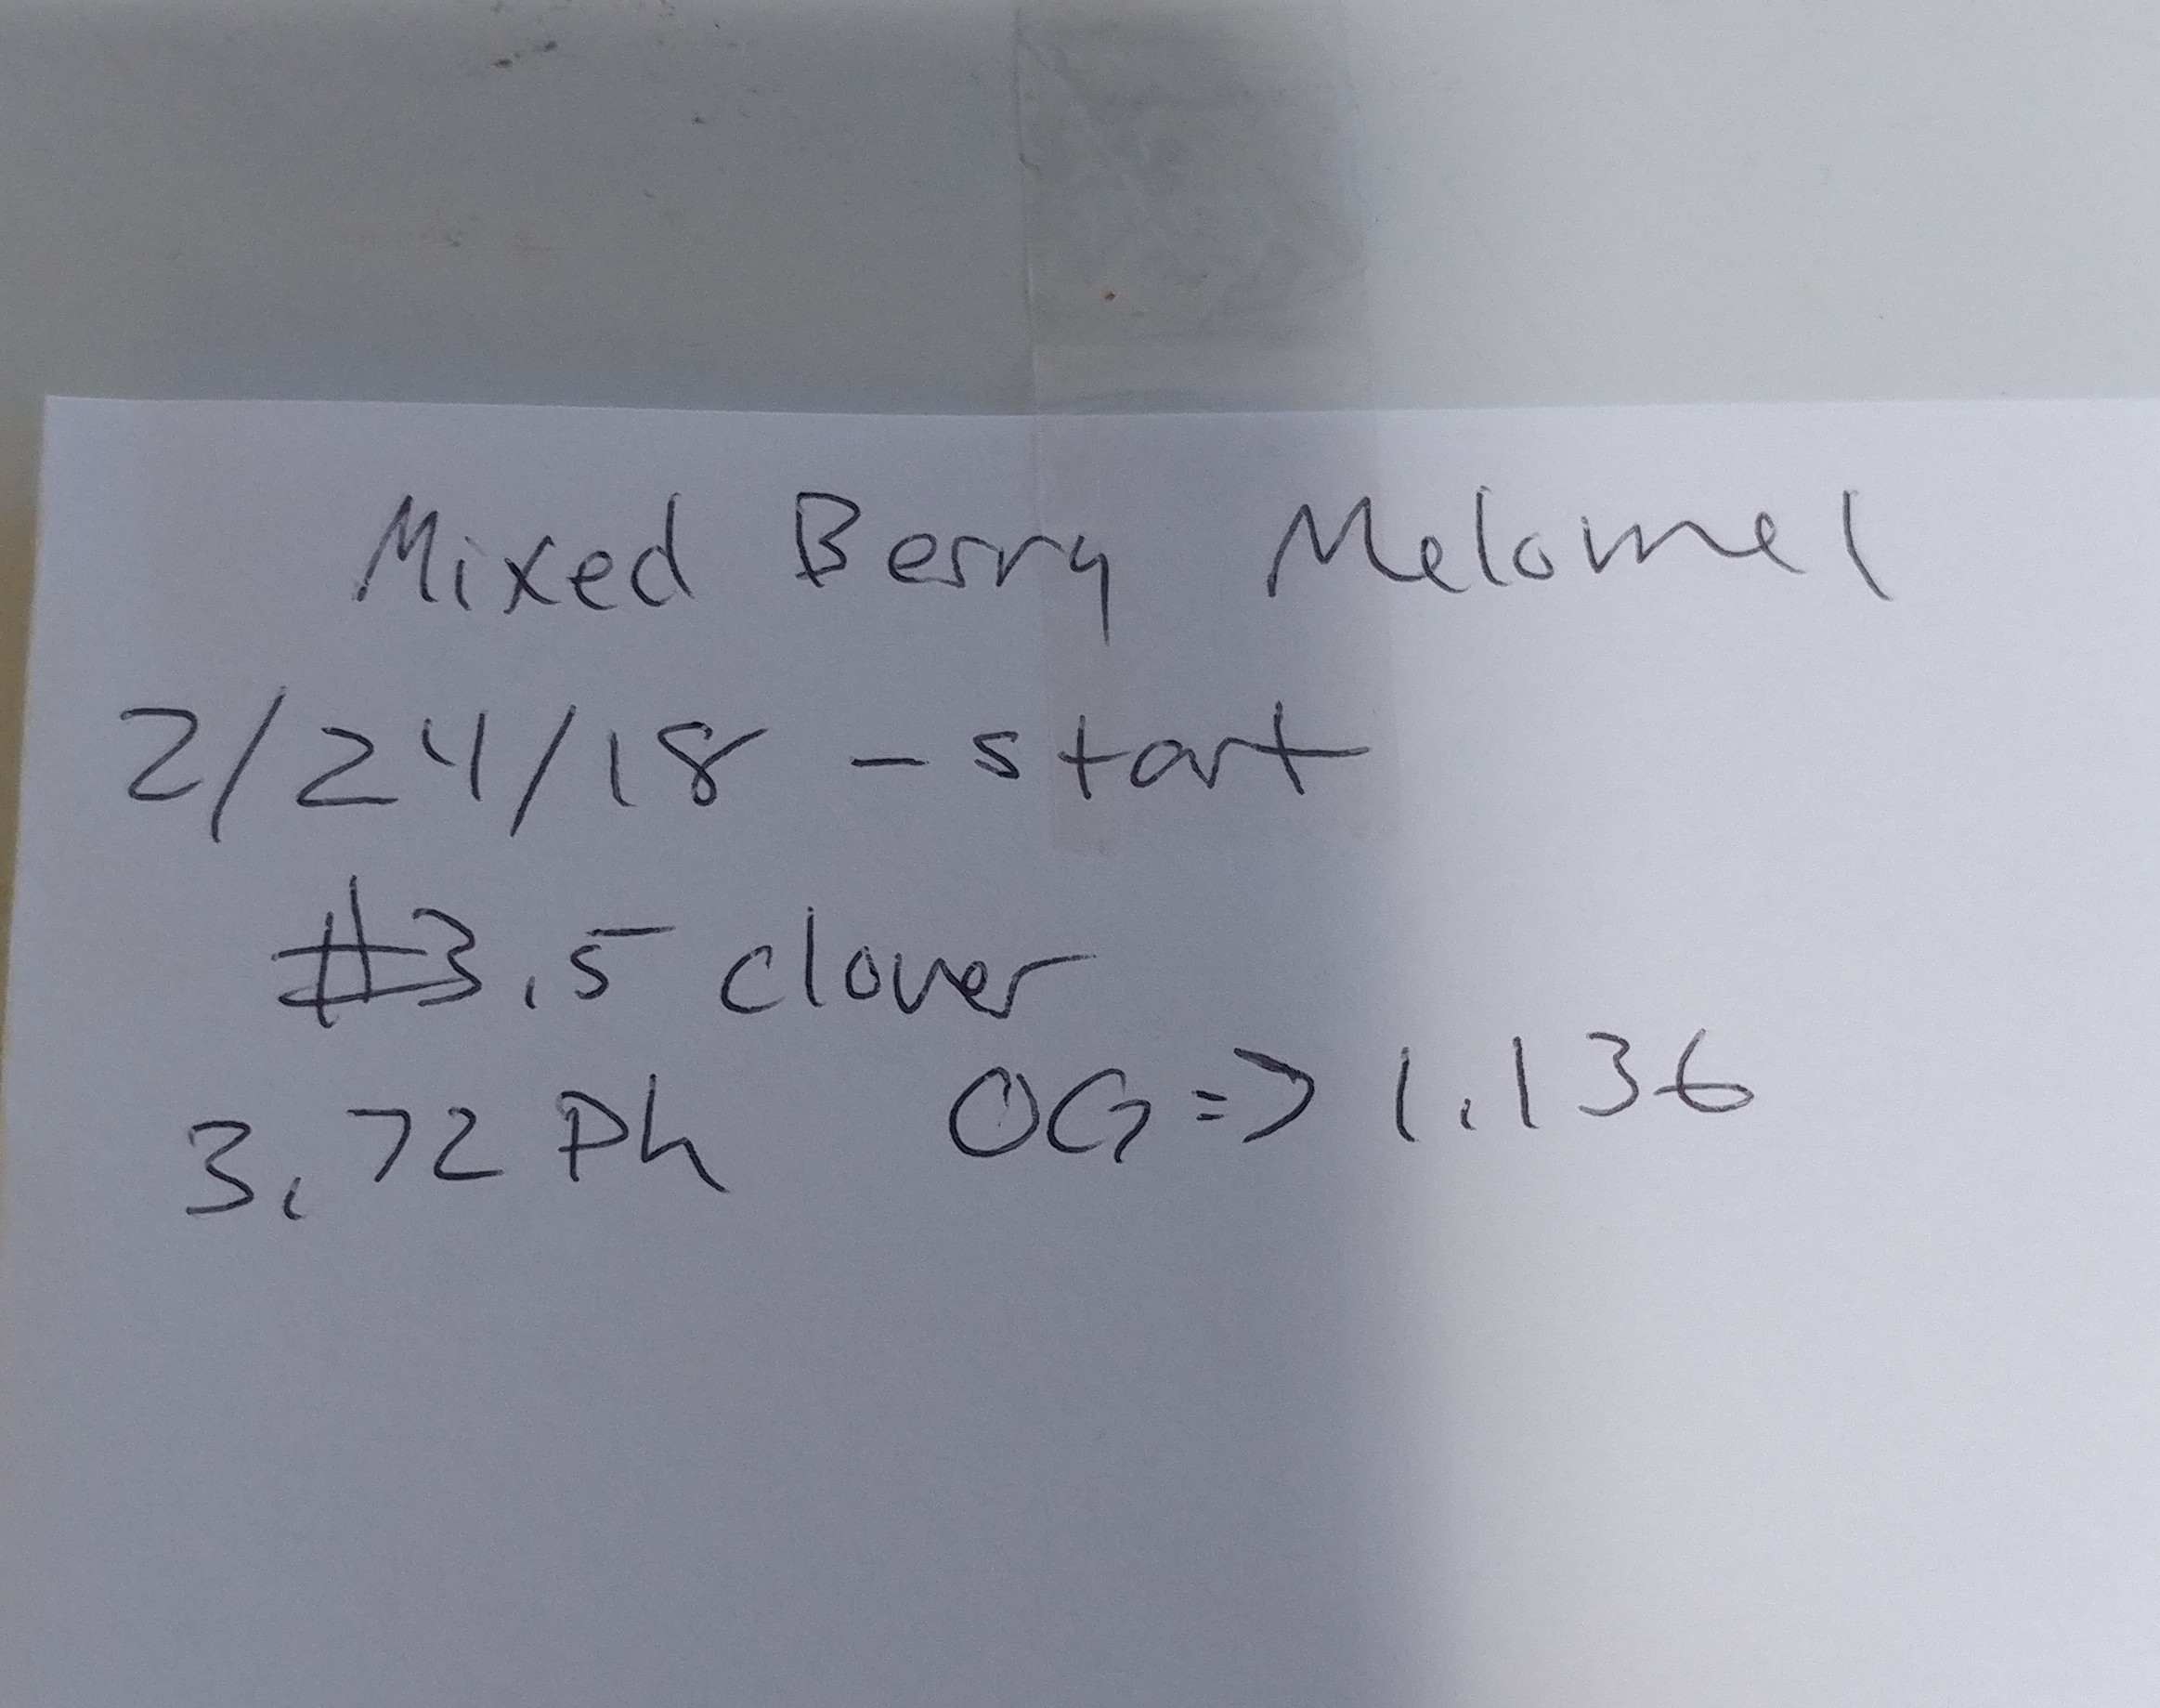
Here is a shot of the notes I take when making a mead including the name of what I’m making and the date I started. I later corrected the date to the 25th. I also didn’t need to add any acid to the mead to bring the pH level to where I wanted it. If it wasn’t acidic enough, I would have added either orange juice or lemon juice to the mead. The original gravity was 1.136 which tells me that this will end up being a sweet mead with an alcohol level around 13% - 14% ABV.
I’ll keep you posted on how this ends up over the next few months.