
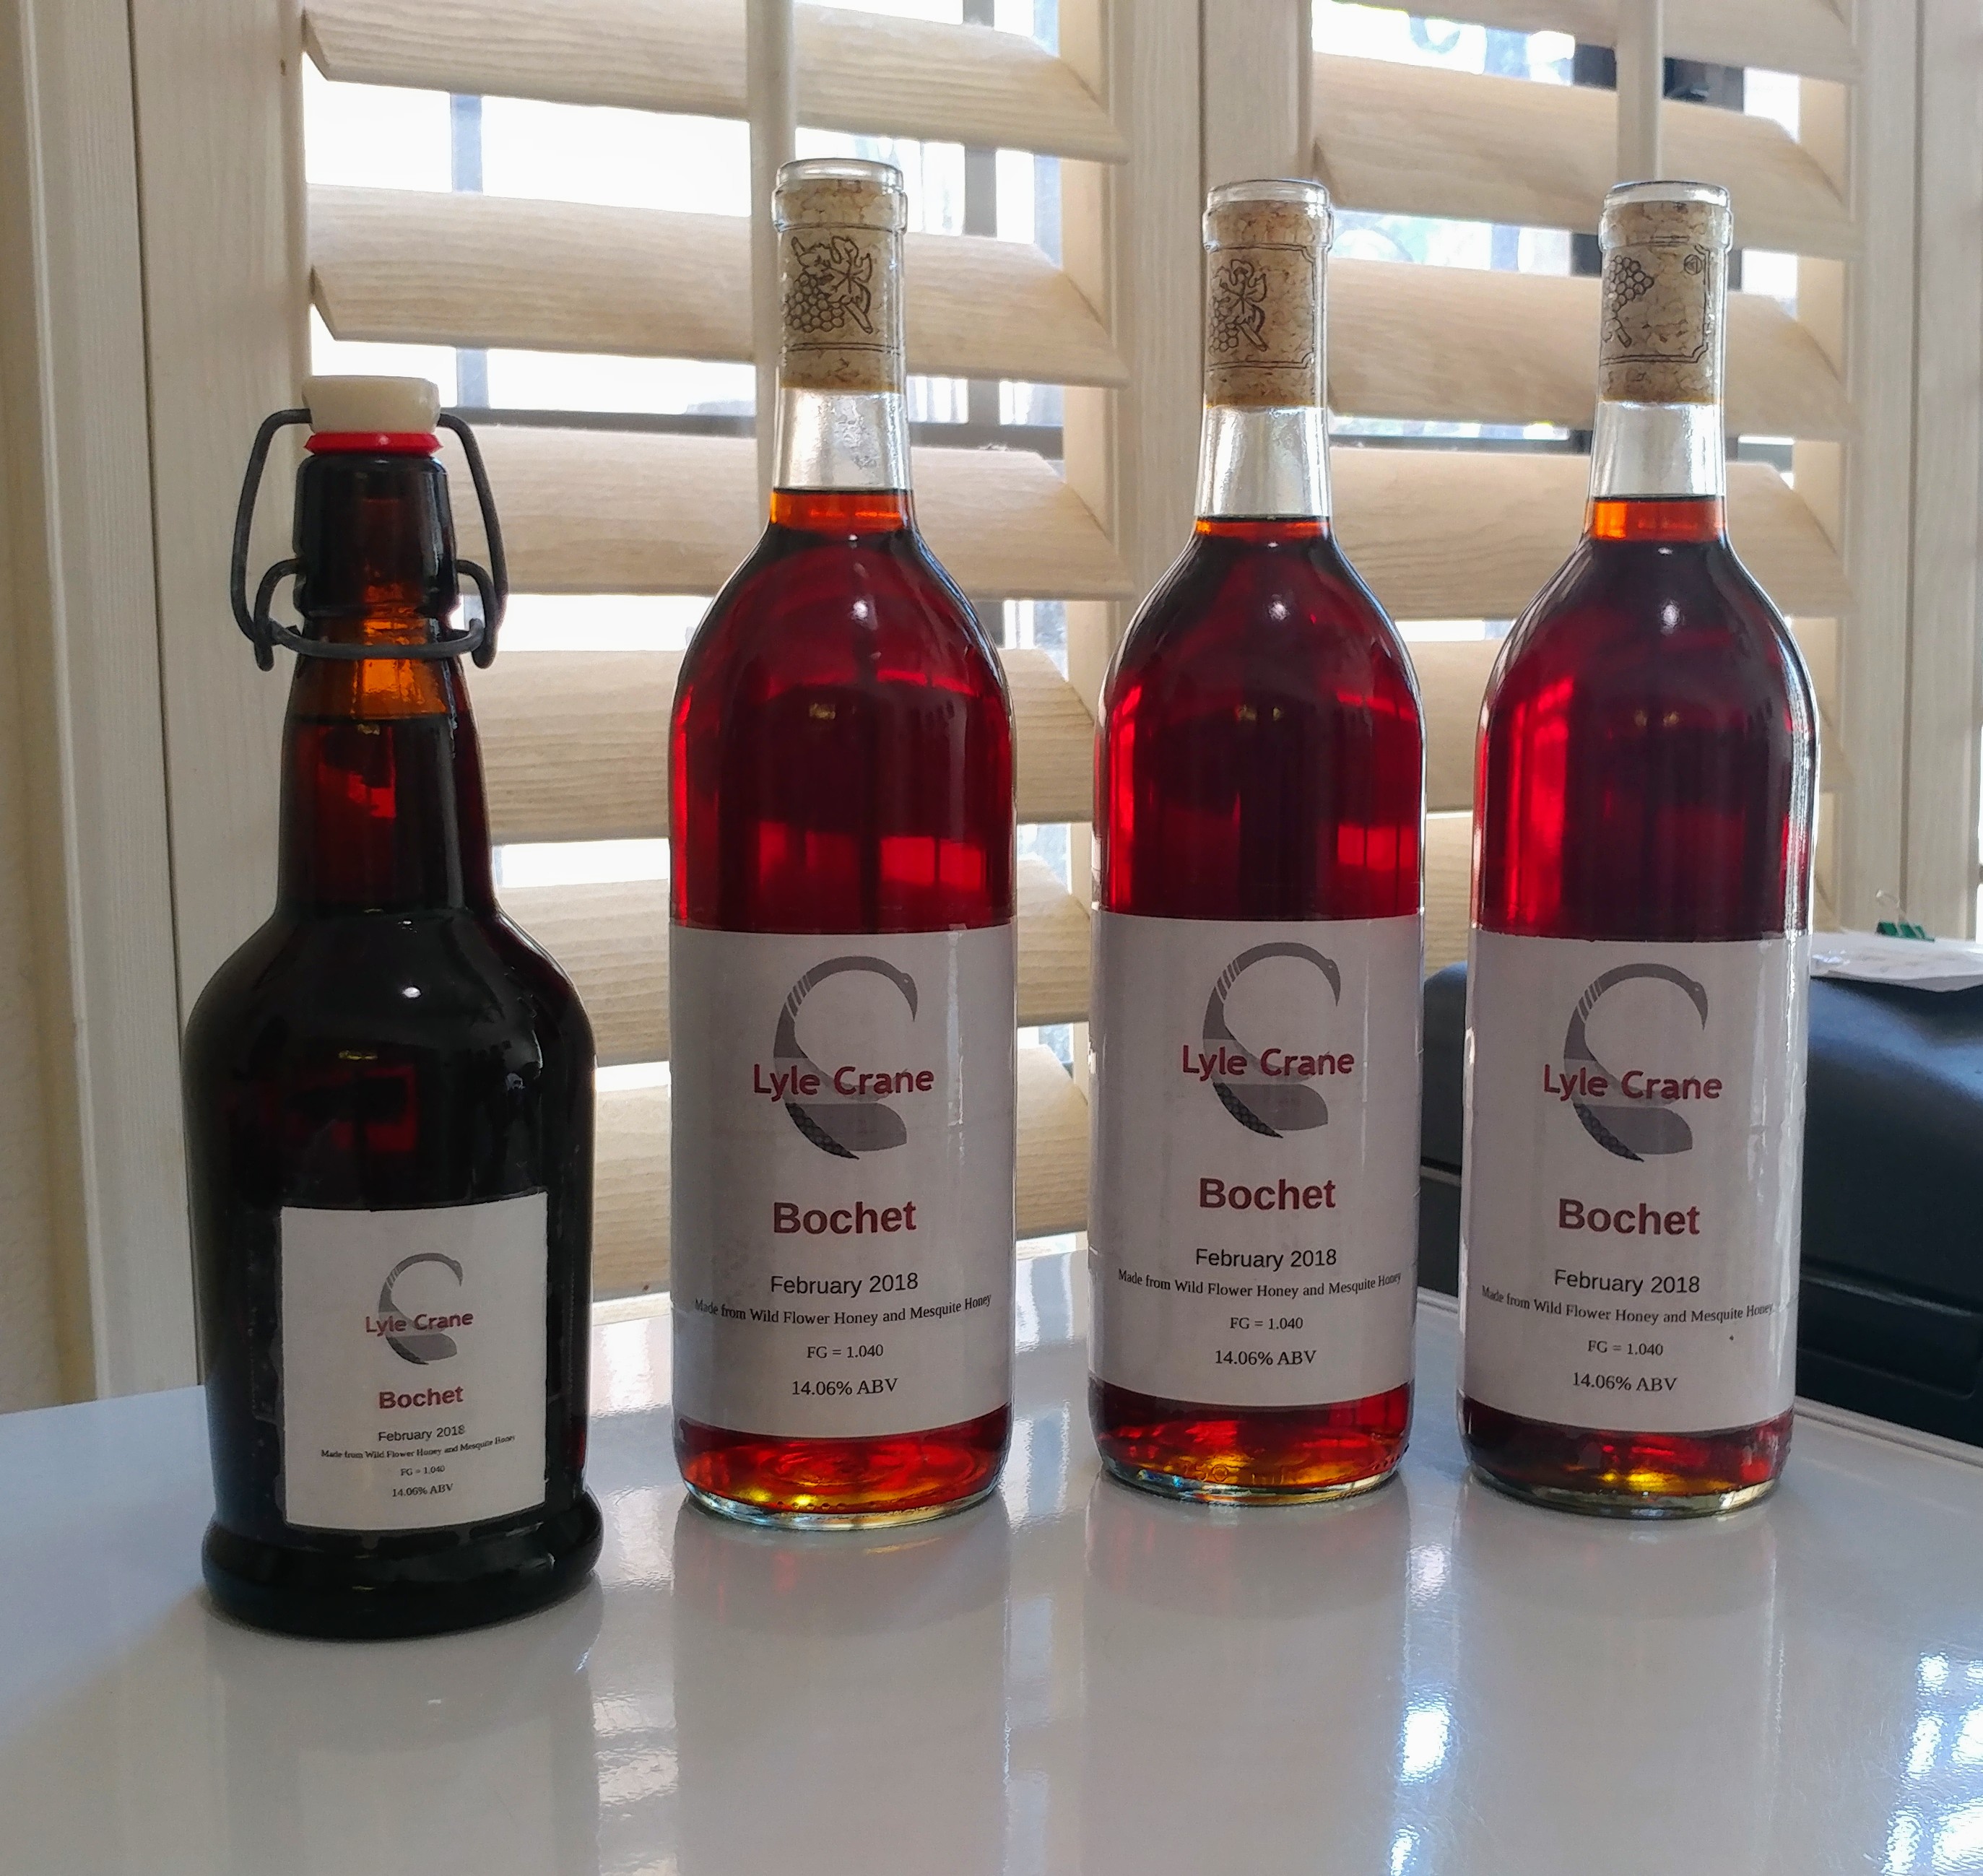
Bochet is finally bottled!
05/26/2018
When I first decided in September of 2017 that I was going to start brewing mead, I first looked up in Wikipedia the mead article and made a list of all the different types of mead that I wanted to make. I’m now nearing the end of that list one of my crowning achievements was the Bochet that I finally was able to bottle today. It was during the making of the Bochet that I finalized the process that I ended up using for all of my meads. Here is a look of the entire process from start to finish including a list of ingredients that I used.
Ingredients:
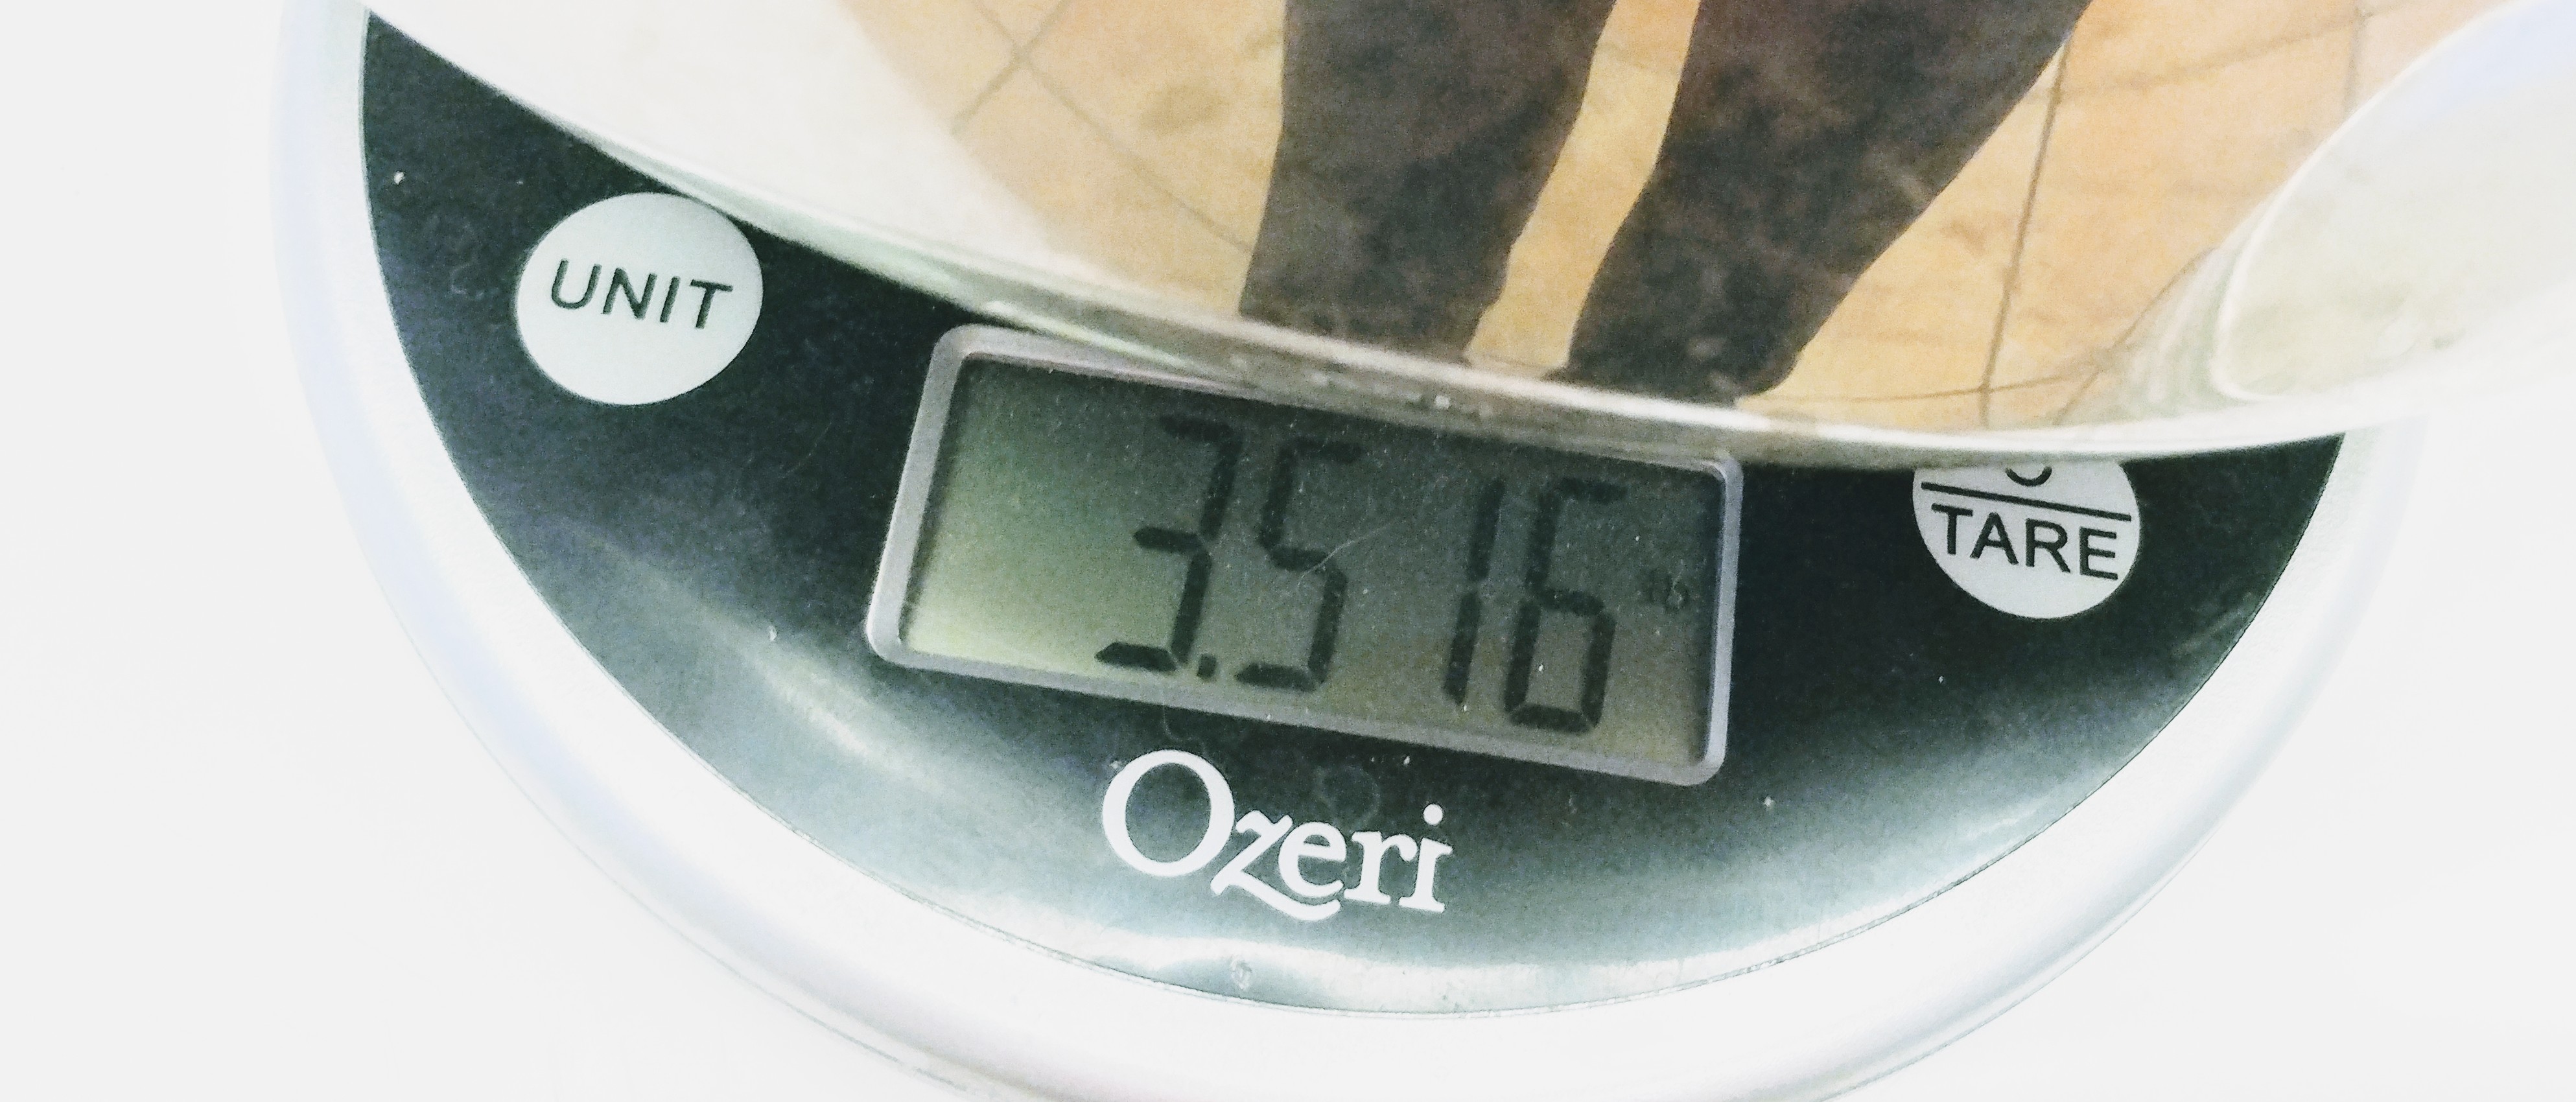
3.5 lbs. Wildflower Honey
1 gal. Purified Water
1 packet Red Star HOZQ8-529 Premier Blanc Wine Yeast
Lemon juice as needed
Yeast nutrient
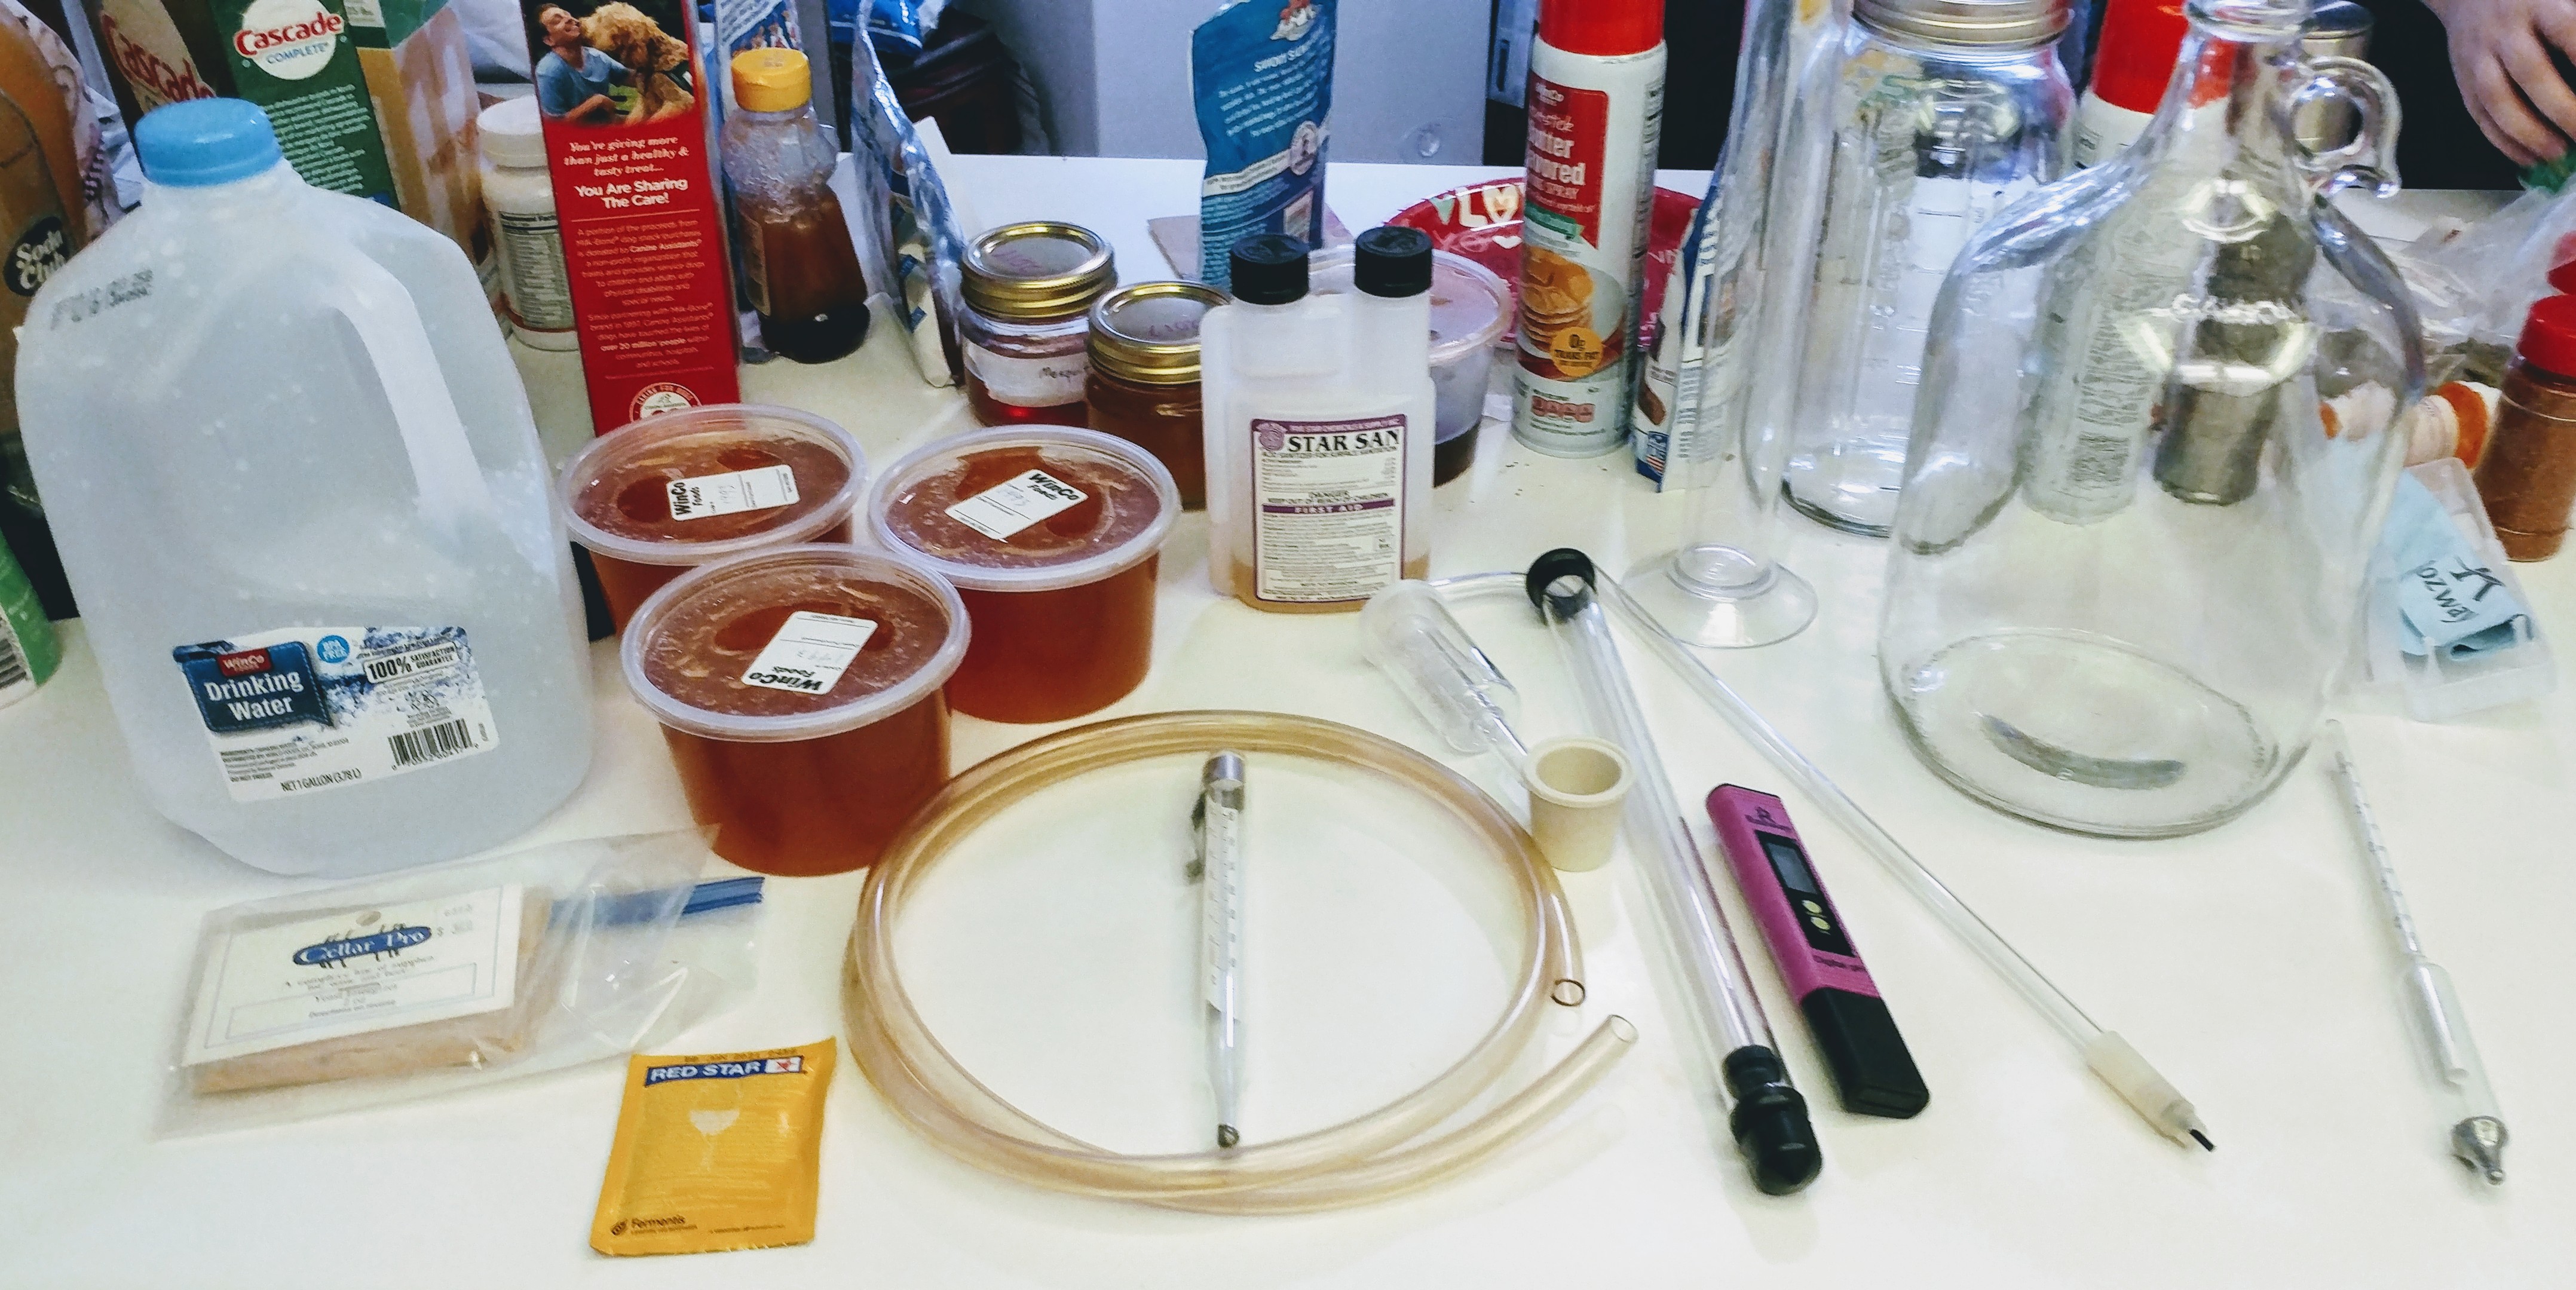
Equipment:
Star San sanitizer
Mr. Clean kitchen cleaner
Siphon tube
Thermometer
1 Gallon Carboy/Jug
Stopper
Airlock
Siphon pump
Testing Cylinder
Hygrometer
pH meter
Turkey Baster
Funnel
Wooden spoon with 1-gallon mark on it – I’ll talk more about this later
½ tsp measure
1.5-gallon Dutch oven/brew pot
Digital scale
White plate that can take high temps
As with all home brewing projects, I started by cleaning all the kitchen surfaces, both sinks, and the stovetop. I then took a gallon of tap water and mixed up some Star San to sanitize all the kitchen surfaces, both sinks, and the stovetop. See what I did there? I CLEANED and then SANITIZED with two different products. Cleaning is done with a base and sanitizing is done with an acid.
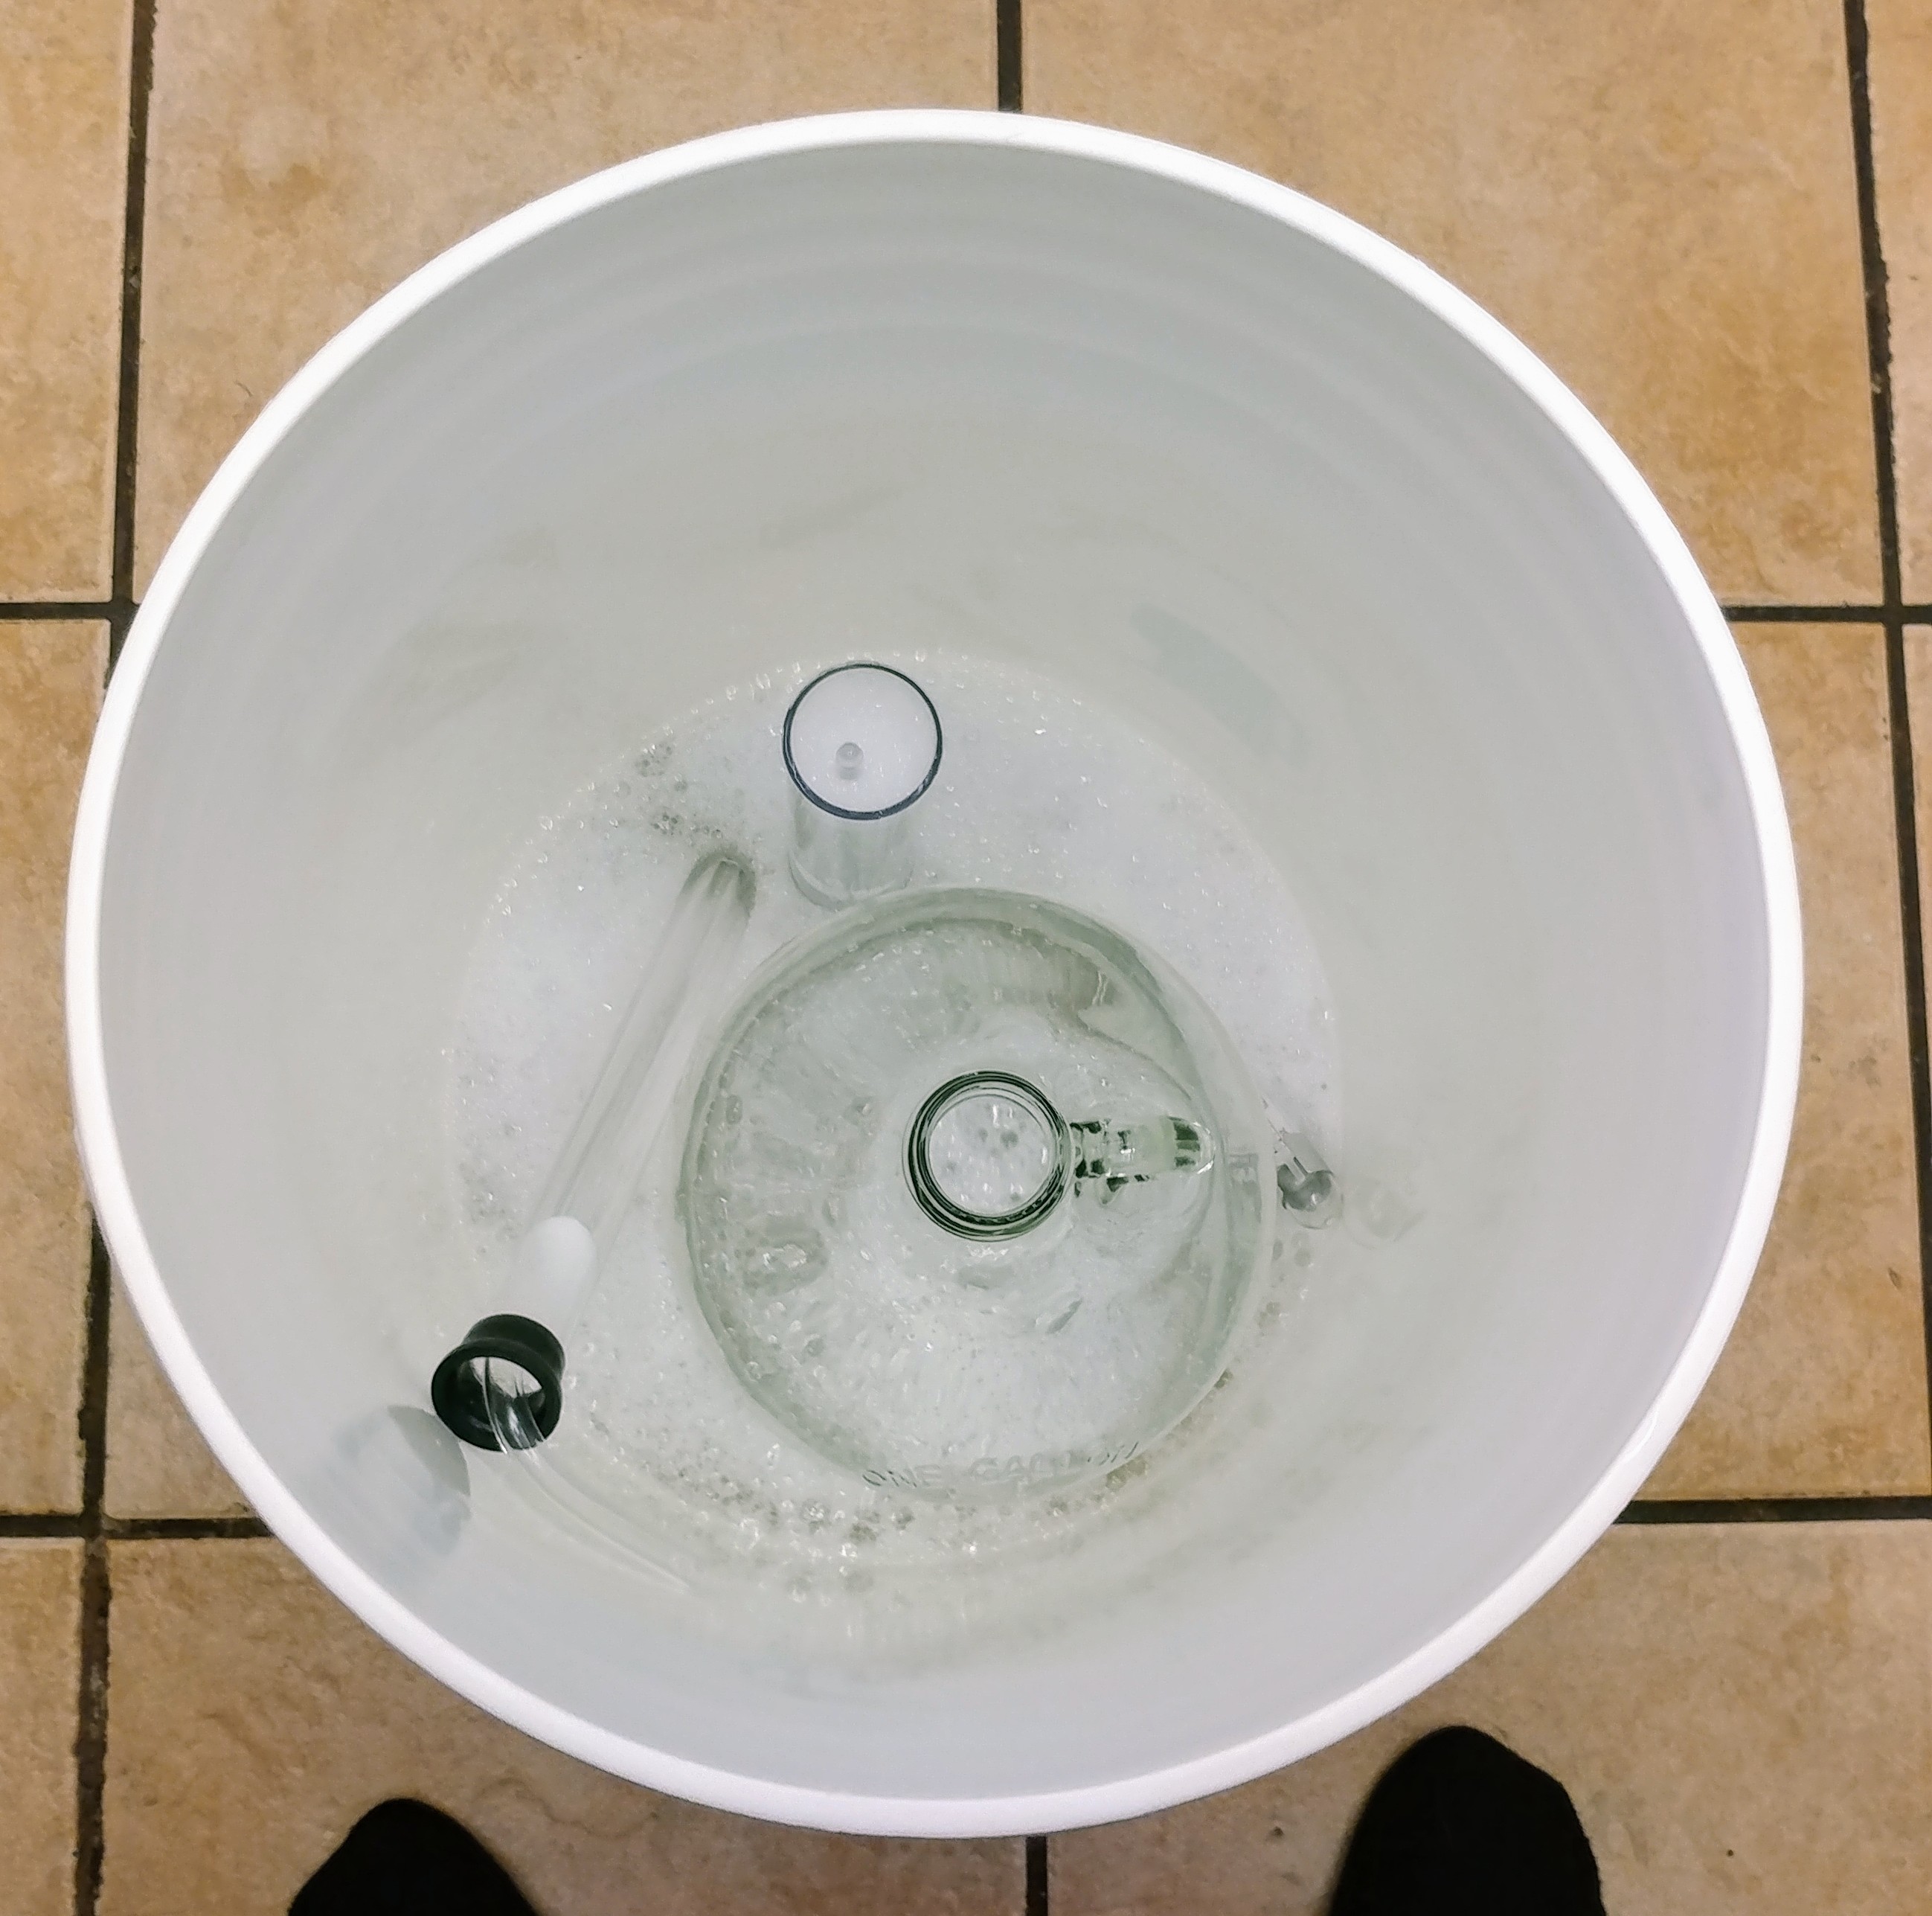
When I mixed up the Star San, I put it in my 5-gallon fermenting bucket I use for making beer and put all my equipment in there. I then take fill up my carboy with tap water to the level I want my must to go up to and pour that into my Dutch oven. I then take the handle of my wooden spoon and put it into the water marking with a Sharpie where the water level is at. I set the spoon aside and empty the water out of the pot while drying it with paper towels and placing it on the stove.
Let me take a moment to talk about water. Water is the primary ingredient in any brewing process. Flavors will come from whatever water you choose to use whither you want it to or not. Our tap water in Mesa is hard with a lot of calcium and lime as well as a ton of chlorine. Take a hot shower and the room will smell like a swimming pool. Chlorine also give a “old bandage” taste to beer and I’m not about to test it with mead. I once made a hefeweizen with our tap water and had to toss all five gallons of it.
I’ve also found that drinking water that you buy in the grocery store will have minute amounts of chlorine to keep is shelf stable and safe to drink. Walmart is the worse and I’ve instead switched to purified water that I found at Sprouts near our house. I can pick it up for 99 cents a gallon which is only 10 cents more than Walmart drinking water. To me, it’s worth the extra 10 cents for not having that awful taste in my brew.
Now, it’s time to turn to starting the Bochet. I place the pot on my digital scale zeroing out the weight of the pot and begin adding the honey to it. I add 3.5 lbs. to the pot and move it over to the stove and SLOWLY begin heating it up watching my thermometer as I do. As the honey heats up, it will at first become thinner and then start to bubble and foam up. Lower the temp on the burner to keep it from bubbling over while keeping an eye on the clock.
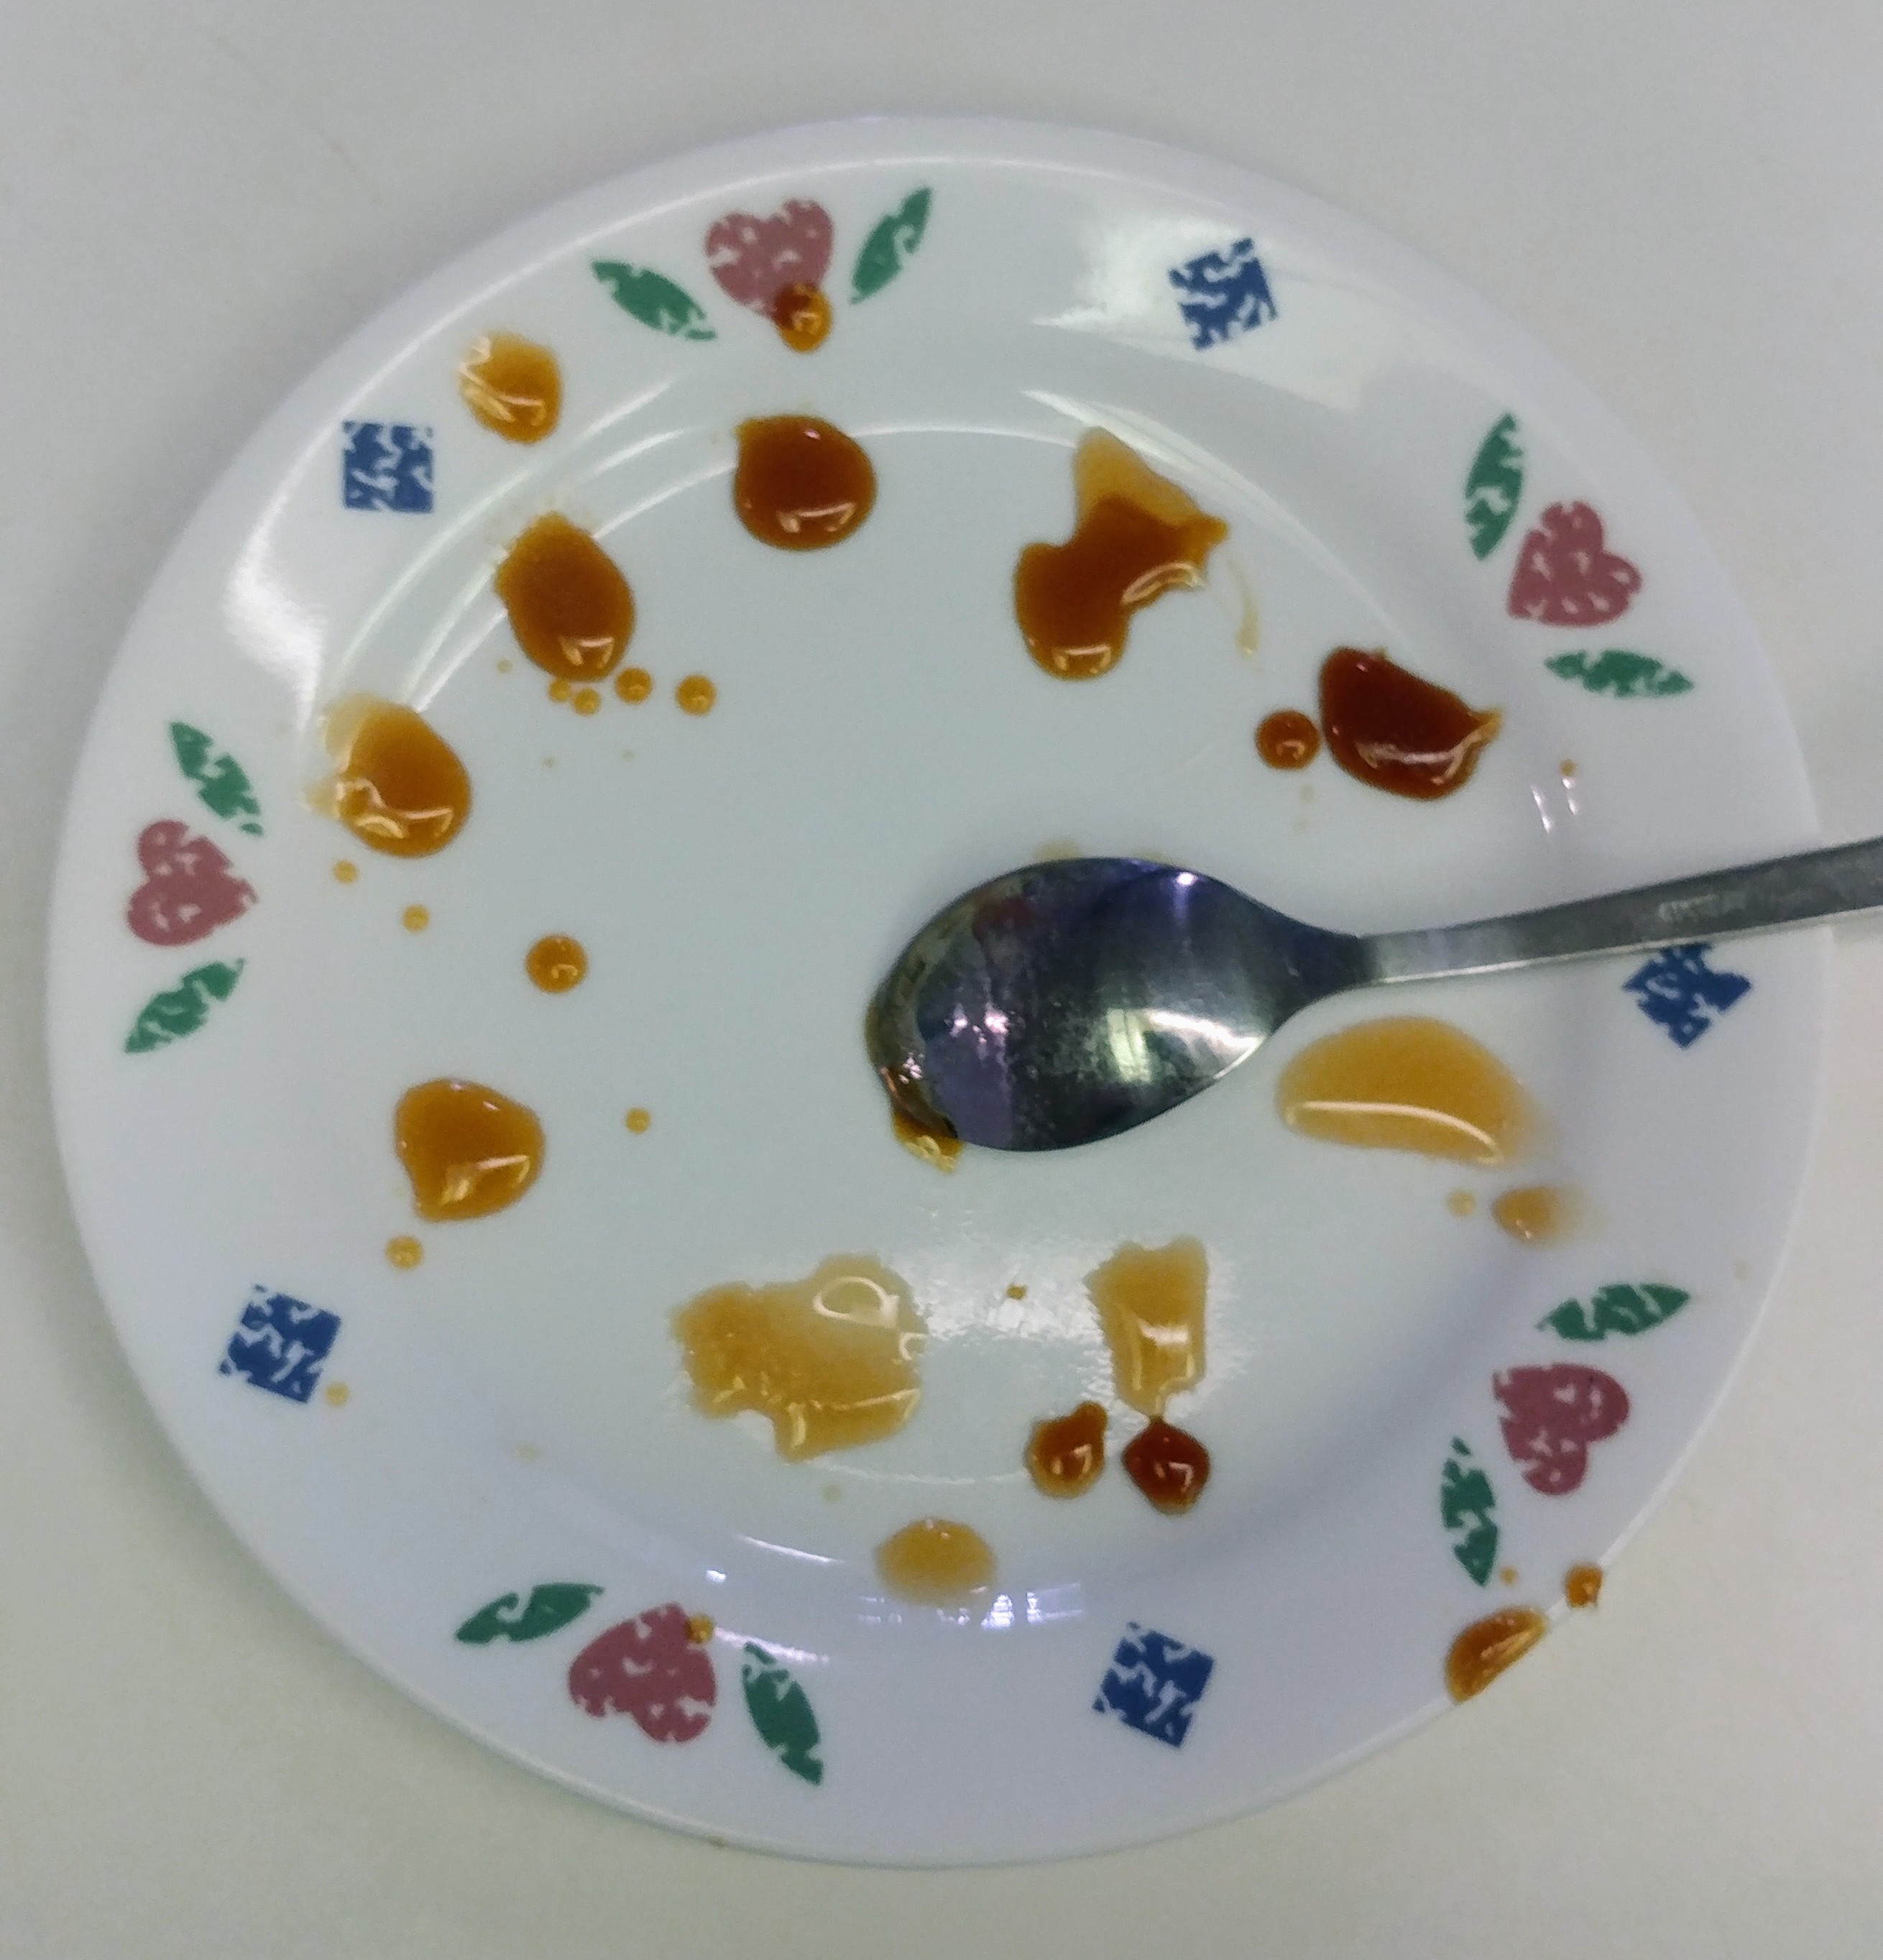
Every five minutes after the boil starts, take a spoon and place a drop of the honey on a white plate. The foaming homey will appear lighter in color than it actually is so this is an important step to keep track of what stage it’s at. Keep testing the color every five minutes and turning down the heat all the time. I started at medium-high and was down to just above low when I was at 35 minutes. I was aiming for a dark caramel color while trying to keep the honey from charring. Some people like this flavor but I don’t.
Now, before I even started, I designated one of my sinks a cleaning sink and the other a sanitizing sink. The clearing sink will store equipment that has particles of honey that needs to be cleaned off. The other sink will be used to rinse off the sanitizer from the equipment that is soaking in Star San in the bucket nearby.
After the honey had caramelized and I was pleased with the color, I moved the entire pot into the cleaning sink. It’s important to note that right now the honey is lava and will burn you very badly if it were to splatter on it. I discovered this when it was boiling a bit too energetically and a drop landed on my hand. That’s why it’s important to keep turning down the temp and use a long-handled spoon.
Remember that mark that we put on the handle of the spoon? Now is the time to put that to use. I open up my gallon of purified water and CAREFULLY pour some into the pot. It will spit and pop which is why I put it in my cleaning sink. I’d rather have it bubble over in there rather than all over the stove or counters burning everything in the process. If you pour slowly enough it will not overflow and eventually stop spitting and steaming. Take the handle of the spoon and dip it into the pot and add more water until it comes up to the one-gallon mark.
I take the pot out of the sink and check the temperature and it should be around a hundred degrees at this point. Not hot enough to burn anything but still way too hot for the yeast unless you’re making yeast soup. I keep sever ice packs in the freezer and placed four on the counter placing the still very warm pot right on top to cool down. I find that in less than a half of an hour the must is down to about room temperature.
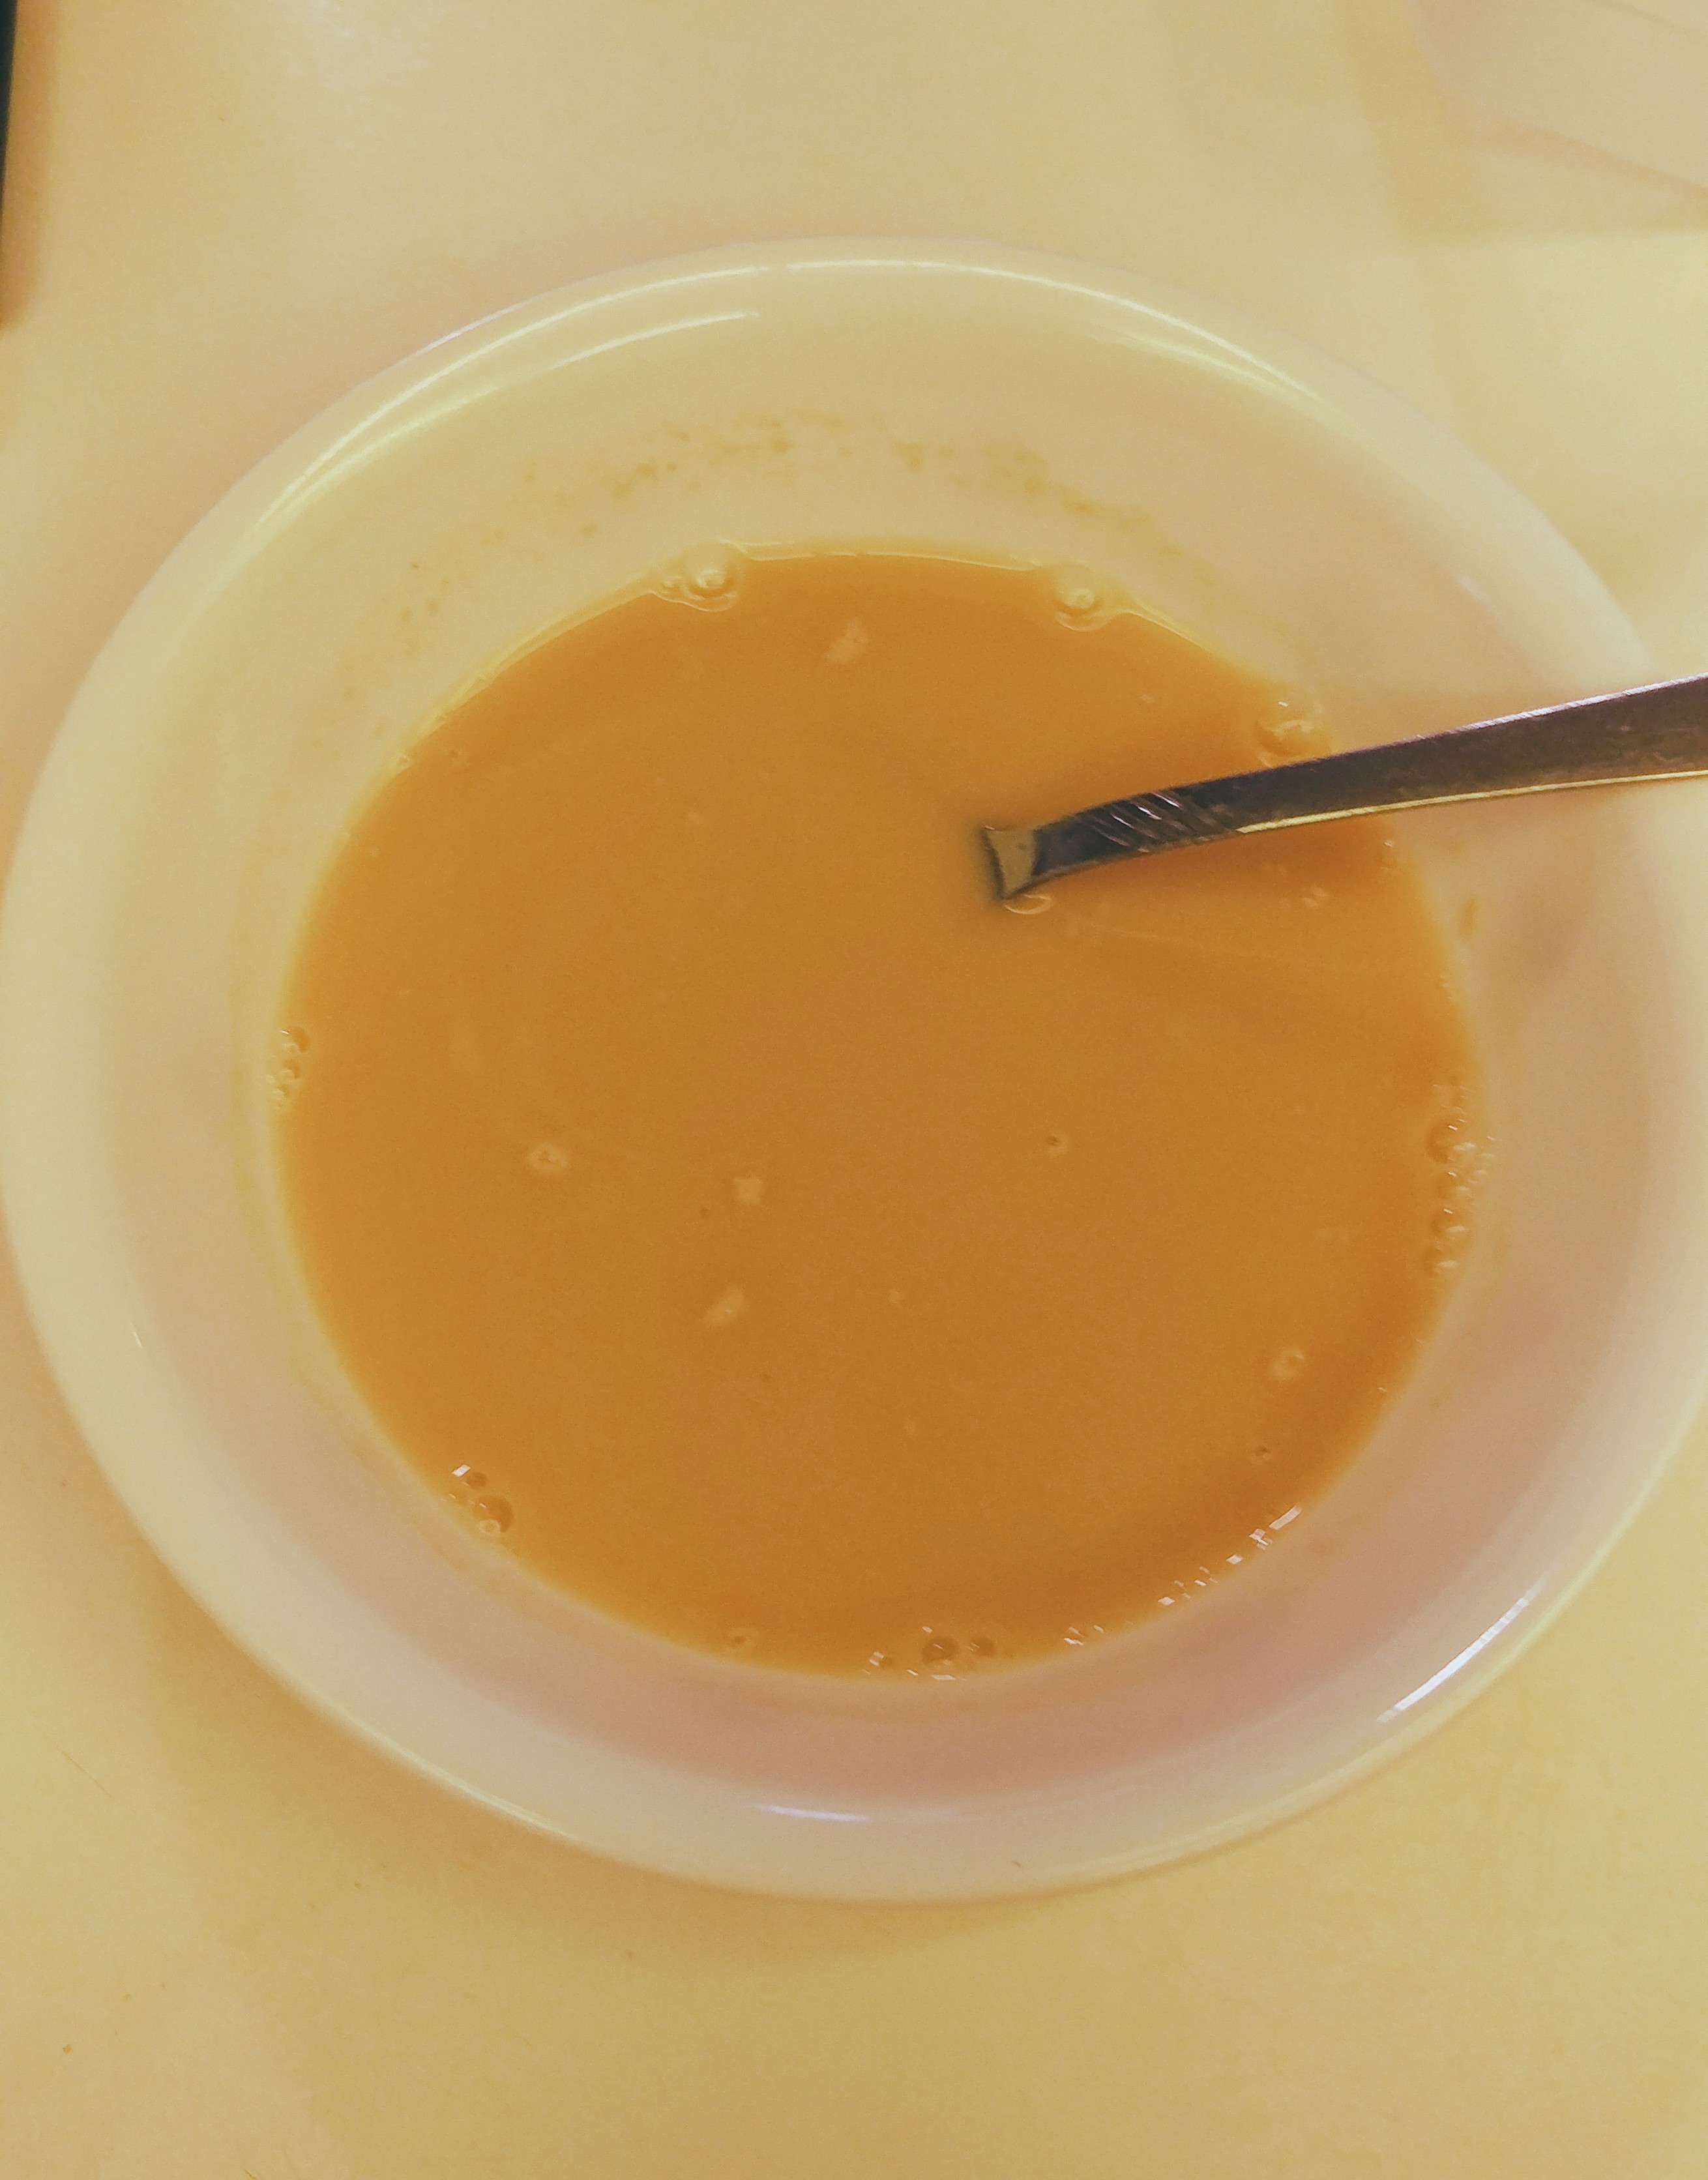
While the must is cooling, I take a small bowl and add some of the remaining purified water into it. I then power up the pH meter and calibrate it to around 7.0. Now I add the yeast to the water and ½ tsp. of yeast nutrient and give it a gentle stir. Let this sit and have the yeast wake up while finish up the must and get it ready.
Mead need to had a pH between 4.2 and 3.6 for the yeast to work right. Check the pH for the must and you’ll find it a little above 4.2 usually around 4.7. Add a tablespoon of lemon juice to the mead stirring between additions until you get a pH close to 3.6 but not over. 3.7 - 3.8 is perfect. Take your time and be patient. Don’t just a ¼ cup of lemon juice and think that’ll be good. Care and patience will yield a product that you will enjoy when it’s done.
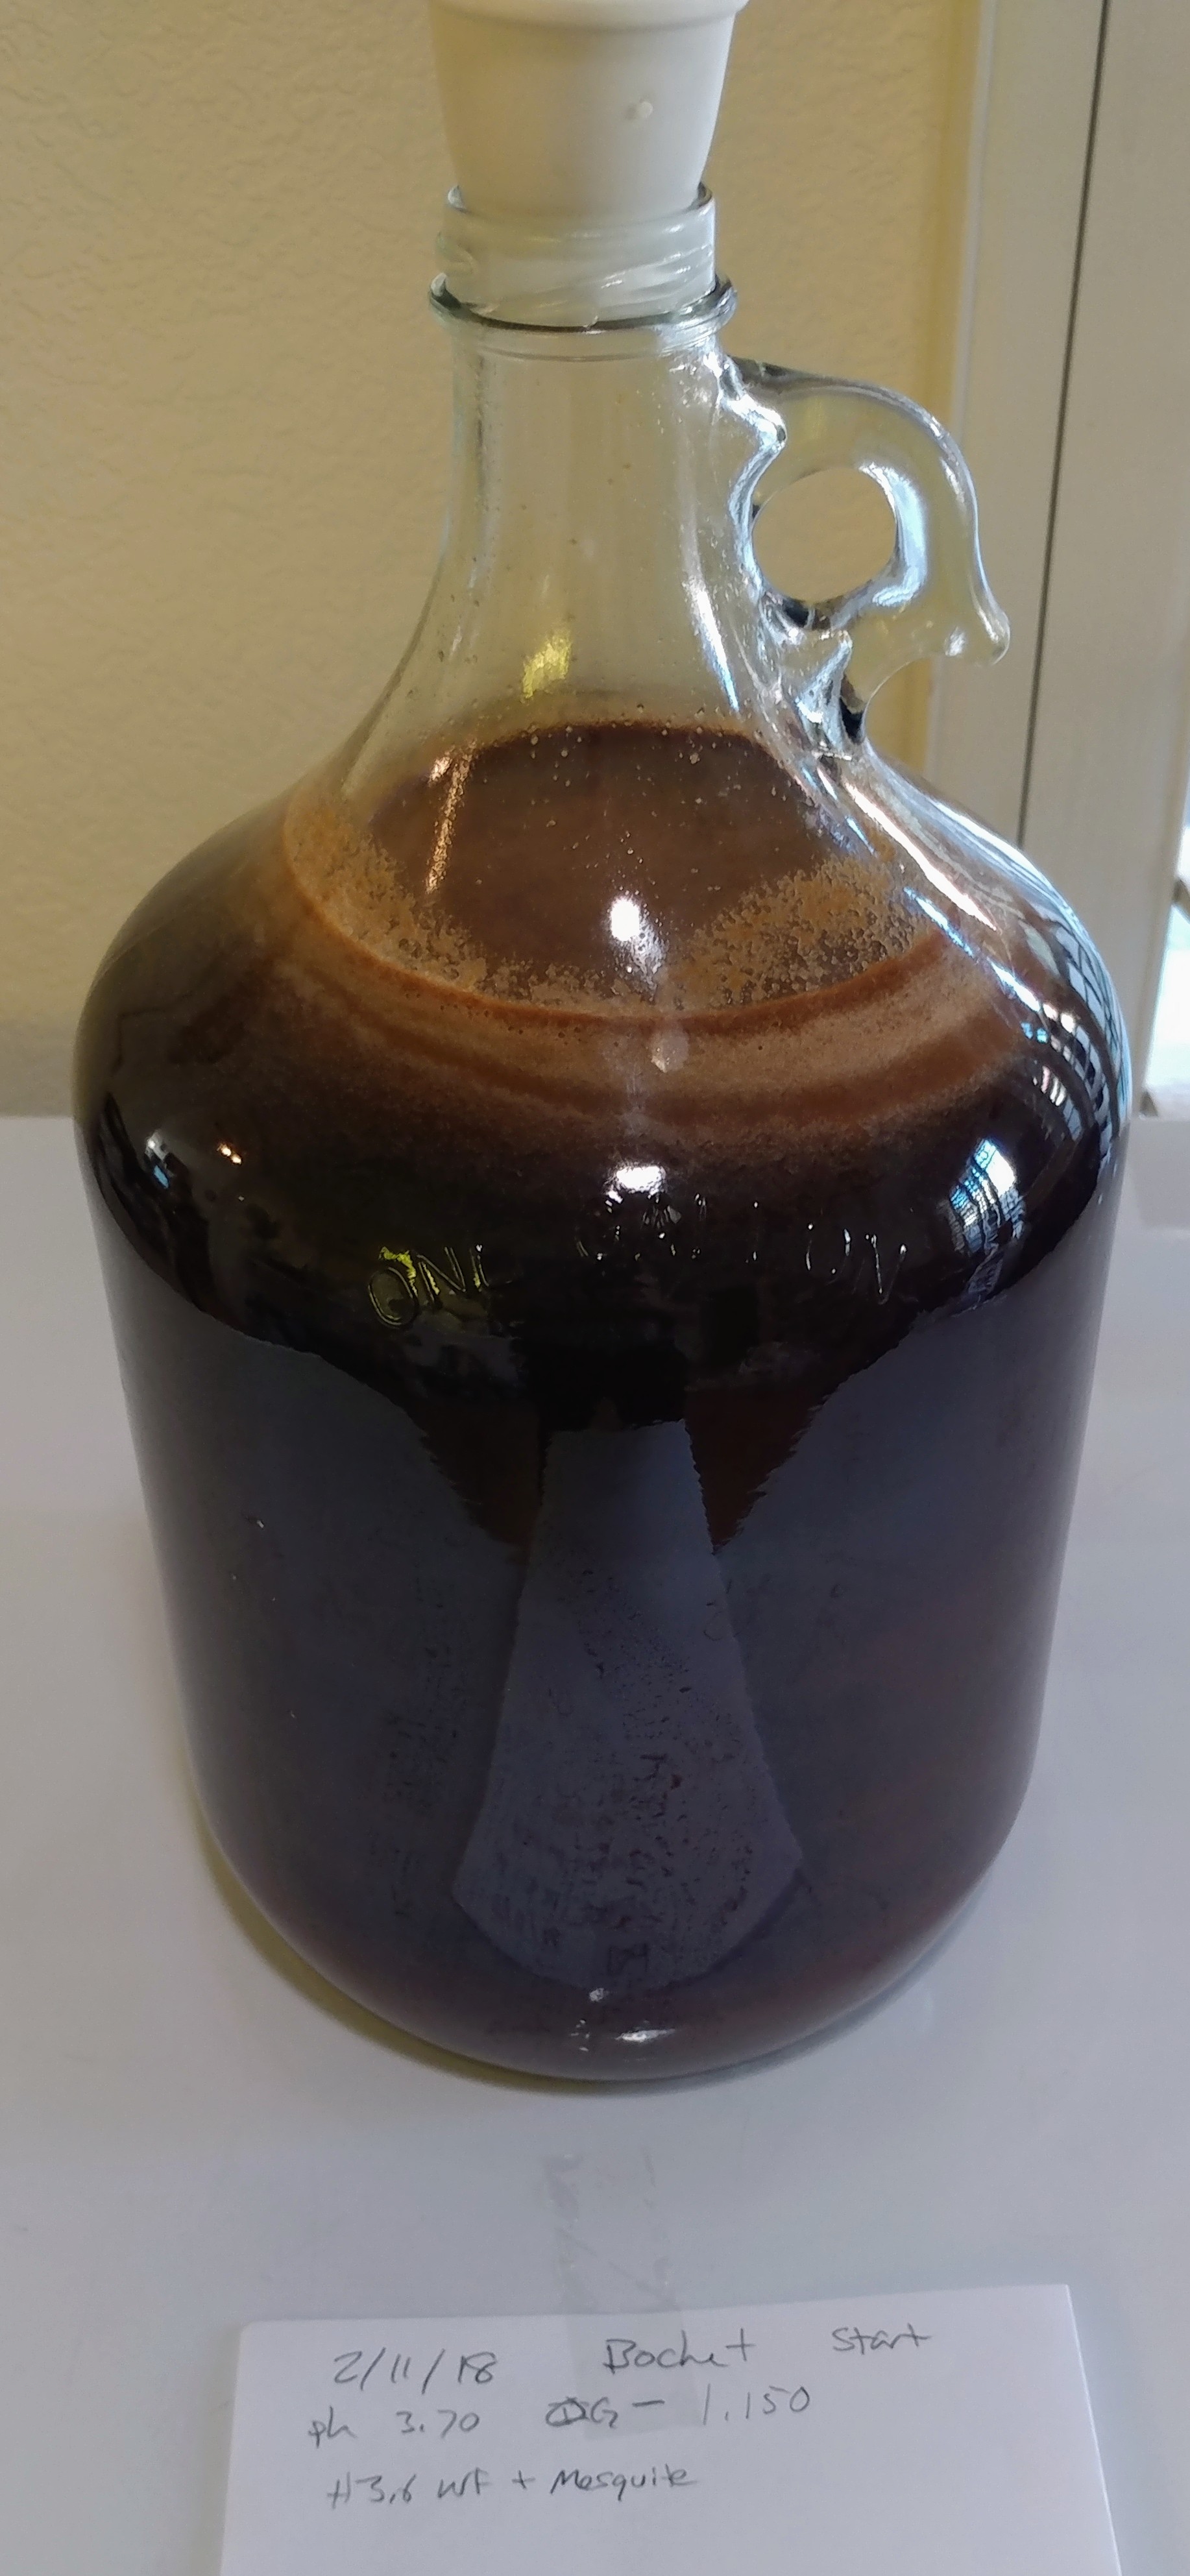
Check the gravity of the must before you transfer it and record this in your logs. If you’re not keeping one, start now. I take a half a sheet of paper that I tape to each carboy recording everything that I do. I label the mead that I’m making and put the date down when I started, how much honey and type of honey, and the pH and gravity. I then write down the date when I think I need to do the next stage usually in about four weeks. Choose your dates carefully so you will have time on that date to take care of your mead.
When I first started making mead, I would transfer the must using a funnel making a mess as I did it. Instead, put one end of your siphon tube into the carboy which I placed on a stool next to the counter and hook up the other end to the pump. Now, I just pump the must from the pot into the carboy until it reaches the desired level in the carboy. Don’t worry if there’s must left over in the pot. There will always be a little waste when making mead. Think of it as a gift to the Nordic gods.
Pour the yeast into the carboy using the funnel and place on the stopper without the airlock for now. Give the carboy a good stir but not too much so that it come out the airlock hole. Place the airlock into the stopper and clean off the outside of the carboy with your kitchen cleaner. This will prevent you brew from attracting insects ruining all of your hard work so far.
Over the next four days, I had between a ¼ tsp. to ½ tsp of nutrient to the mead. I place my carboy inside the 5-gallon fermentation bucket just in case it overflows when I add the nutrient. Yes, this has happened on several occasions and this sticky mess is not fun when it happens on the carpet. Trust me. Put it in a bucket. You will thank me for this advice when it happens to you.
After about four weeks, you’ll see a nice layer of dormant yeast at the bottom of the carboy with few bubbles in the airlock. Rack the mead over into another carboy remembering to clean and sanitize everything before you even start. One sink is for cleaning and the other is for sanitizing. The bucket has sanitizer in it just like last time with most of the same equipment in it. I reuse my stopper and airlock unless there was too much blowout that made them both messy. In that case, clean them and sanitize them before replacing them. Mark the logs with the gravity and write the date for the next step in about four weeks.
It’s now been about eight weeks since you first started with the Bochet and it will be starting to clear by this time. You’ll be thinking, “Oh, it’s almost done,” and nothing could be further from the truth. Racking it this time, I noticed and rather strong malty smell that as a bit unpleasant and wondered if something had happened. Yes, it had. It’s called fermentation of now complex sugars that were made when you caramelized the honey. Rack it into what I call “the clarifier”, check the gravity, mark the logs, and let it sit for about three weeks this time.
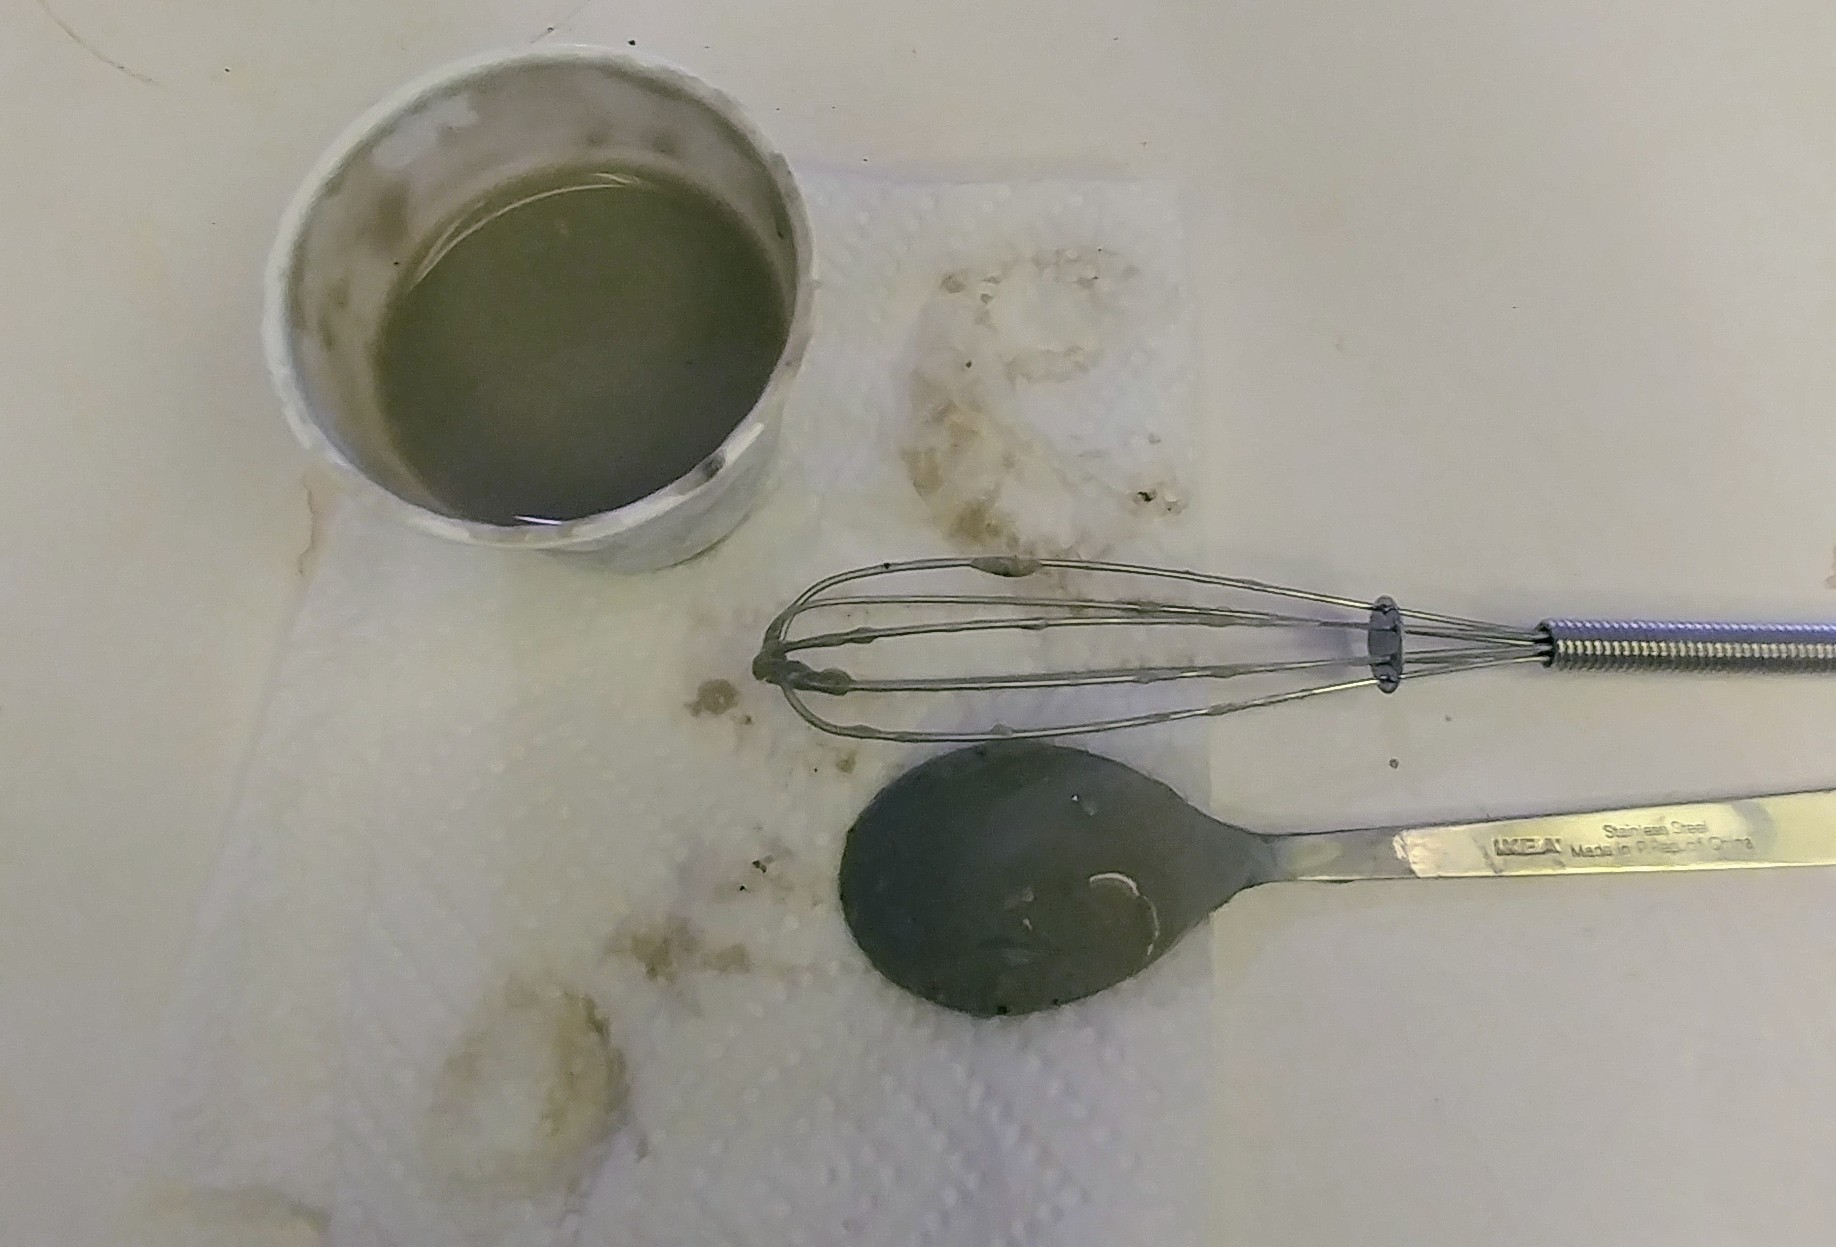
After the three weeks clarifying, I’ll place it in front of a window try to see outside through the mead. Most times, it will be and so I just check the gravity and mark the logs. If it’s still cloudy, I add some bentonite. I’ve tried cold crashing with no luck but bentonite worked every time. Follow the directions on the package and use a small dressing whisk stirring until your arm hurts and it becomes smooth. Pour it into the carboy and don’t rack this time but wait only one week for it to clear like magic. It usually takes only a day but I let it wait for a week anyway before racking it into a new carboy for two more weeks.
At last the day of bottling has come! One gallon of mead will give me three 750 ml bottles and one 500 ml bottle with only a dribble for tasting left over. I also have a priming bucket with a spout on it that I use along with a racking cane that have a spring valve on the bottom. First, clean and sanitized everything before starting as most failed brews happen with people fail to take this step.
Next, put the Star San solution into the priming bucket filling each bottle with Star San before rinsing and placing of a bottle rack to drip dry. Take some of the Star San solution and put in a small bowl and place the corks you’re going to use in it. Empty the priming bucket and dry it out with paper towels before racking the Bochet into it. Connect the siphon hose to the spigot and the other to the racking cane. Place the cane into one of your bottles and open the spigot. Press down on the cane and the Bochet will flow into the bottle. Fill it to the very top until it’s just about to overflow and lift up to turn off the valve. Remove the cane.
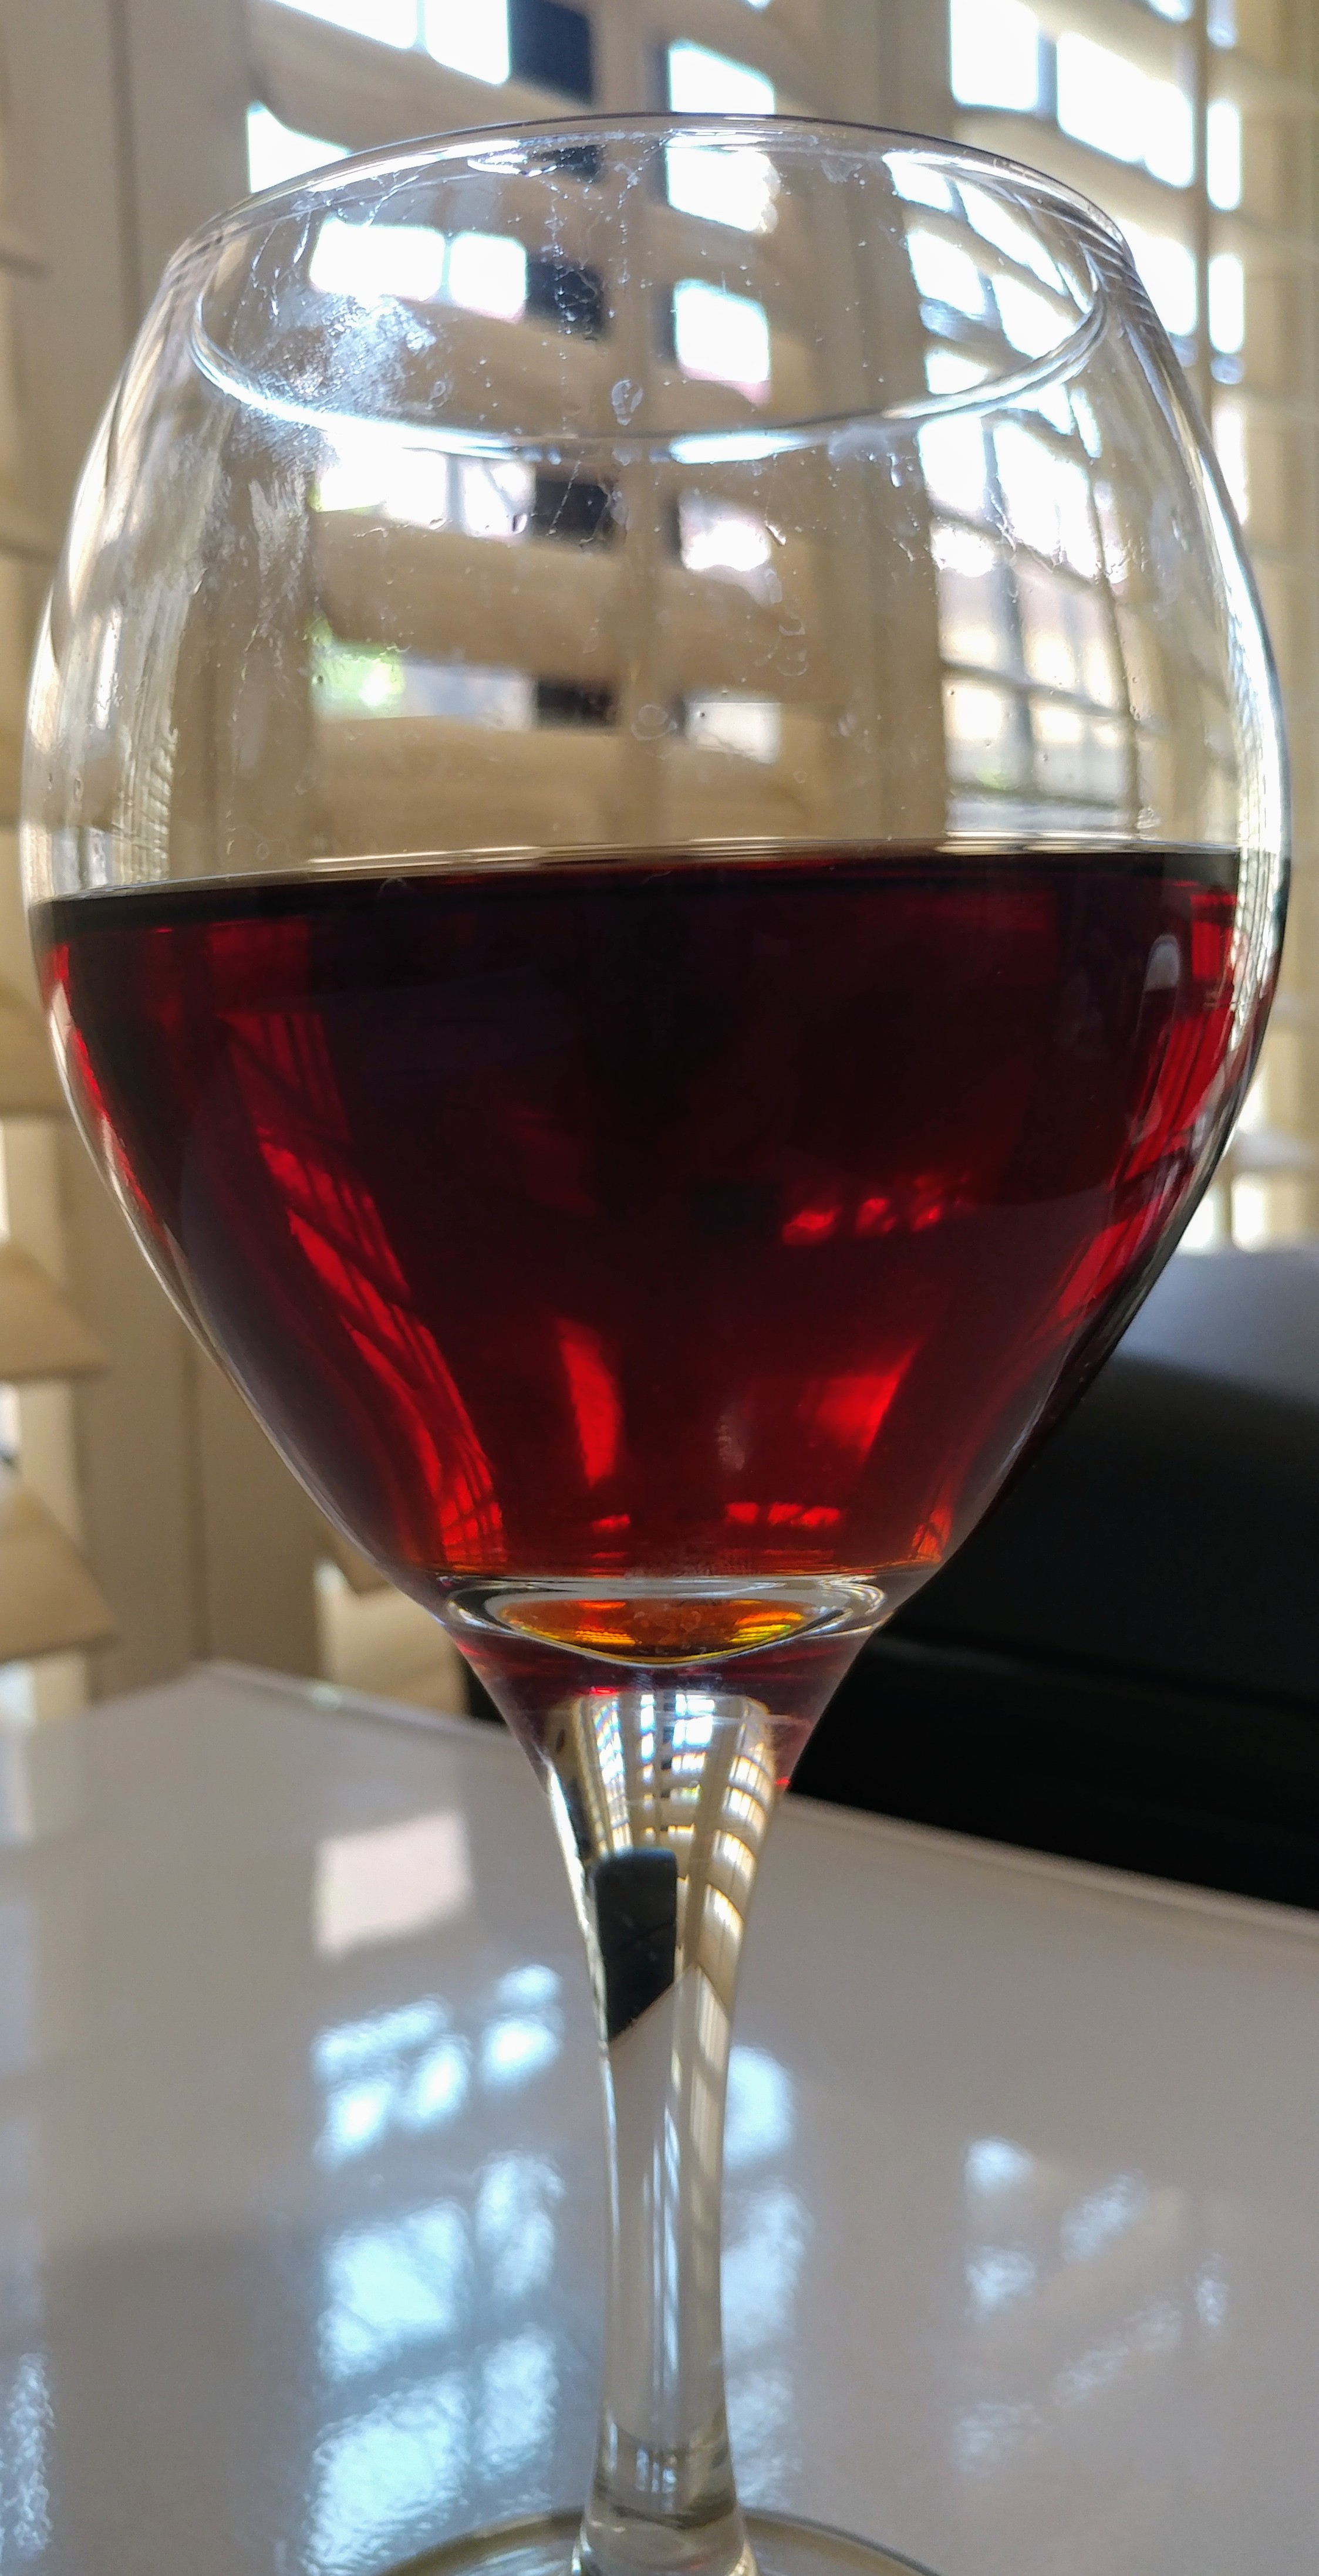
Repeat this process for each bottle. I find that I need to tip the priming bucket to the side for the last bottle or so but it's really light by this time. You’ll also notice that when you remove the cane from the bottle, the level of the mead will lower to about 2 inches below the lip. This is by design. Wipe the lip of the bottles with a paper towel and seal each of the bottles. Since the Nordic gods already had their share when you racked it into the priming bucket, pour the rest into a wine glass and enjoy the fruits of your labor.
The finally gravity was 1.040 and my original gravity was 1.150. My alcohol level was 14.06% and with that high of a final gravity a sweet mead. It has a nice caramel flavor with a smoky background reminding me of a toasted marshmallow over a campfire. The color was a nice dark amber and the harsh malty smells from earlier were gone. My wife, how loved my first mead which was a Cherry Melomel thought this one may be her new favorite.
I will do this one again in the future but start with a gravity of 1.140 with a final around 1.020. I’m also going to add some blackberries to the secondary to add some blackberries to my toasted marshmallows. As I said at the beginning, this is a technique that I’ve found that works best for me and have had good luck following it. But, every brewer has their own particular method of brewing and, as any homebrewer will tell you, if you don’t follow my method you will burn in hell for being the heathen brewer that you are.
I’m just kidding. Let me know what you think by clicking on the contact link on the left and sending me a message.
Enjoy your mead and drink responsabily.