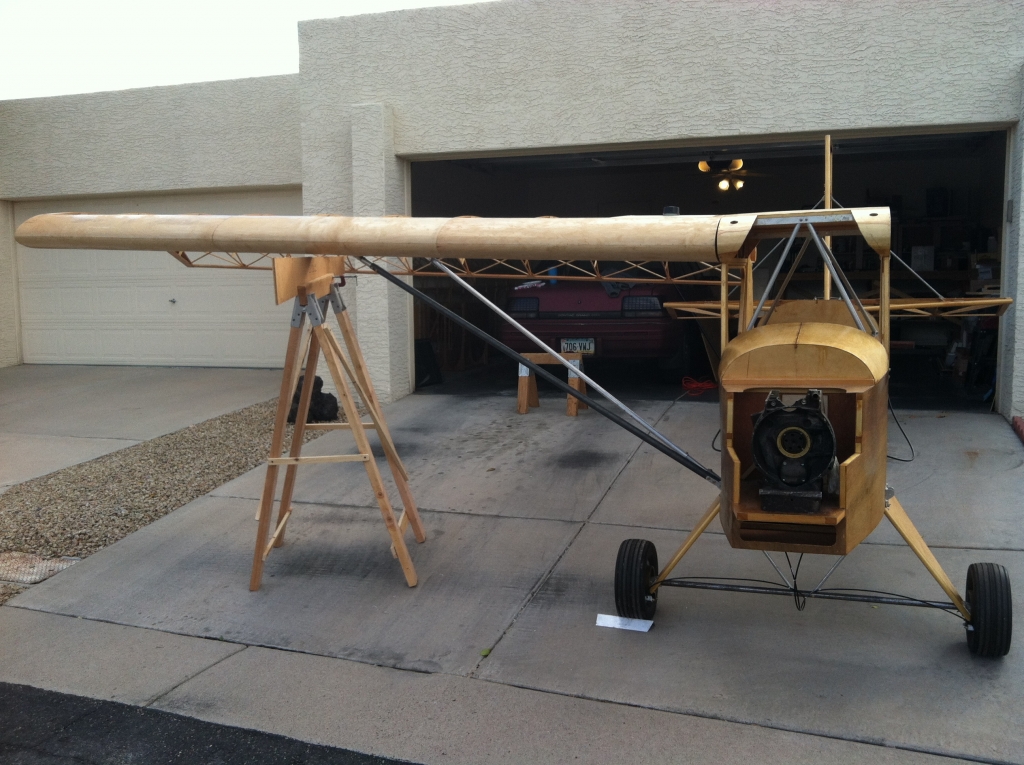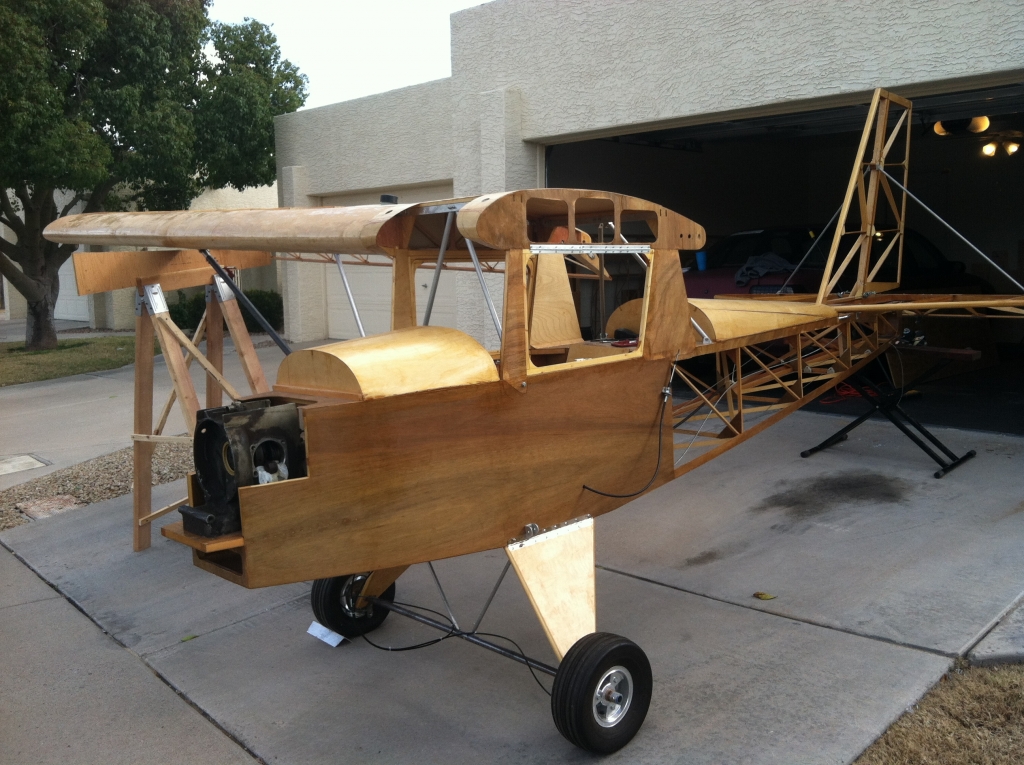
One wing on and aligned
02/10/2013
Wing struts and wing alignment
Finally, connected the wing to the fuselage. Only did one wing though. I was planning on putting it on Saturday but rain was threatening and I decided to wait until Sunday. Started later then I actually wanted to. Started setting up the airplane in the driveway around 10 am as planned and after getting everything set up, discovered that my extension cord was too short. So, Karin and I ran to Walmart to get a new extension cord as well as some things for lunch. Got back around 11 and started over again.
I first set up the airplane in the driveway and raised the tail so it was level. Next, I set up the scaffold up so it was 6' away from the fuselage. I then confirmed that the angel of the wing support on the airplane were the same as the top of the scaffold. I then took off the aileron to make it easier to take out wing from the storage rack without hitting the ceiling. Karin helped me move the wing out of the garage and onto the scaffold. She was scared that the wing was going to fall down but the scaffold worked like a charm and held it without any trouble.
After slipping the root fittings into the fuselage, I clamped the wing on the aft to keep if from slipping back out. I did notice that the wing need to be twisted to line up both fitting into the slots. Starting on the aft root fitting, I drilled a 1/4" hole using my long drill bit. After securing both root fittings with bolts, I moved back to the scaffold to check my dihedral. Measured the root at 57" and the end at 60 3/4". Higher than anticipated but I hear it should work fine. The plane will want to return to center easier when flying.
I then fitted the forward strut onto the fuselage. I decided not to bolt it in as I wasn't sure I was using the exact bolt needed. When I tried to attach it to the wing, I discovered that I needed to grind the tube a bit to fit at an angle. Once I got that aluminum tube to fit, I then mated it with the steel tube and slipped a bolt into place. I found that drilling a 1/4" drill into the hole help the bolt slip in easier. I had already predrilled the holes in the steel tube so all I had to do was drill out the aluminum insert on each side, put in a bolt and release the scaffold. I actually only moved it so it was about an inch under the wing incase the plane decided to topple. But, it stayed steady the remainder of the time I worked on it.
Working on the aluminum rear strut, I discovered that I had drilled a 1/4" hold instead of the 3/16" hole that was required. I checked that there was enough tube and cut off 1/2" of the 1" tube and drilled the hole again with a 3/16" hole instead. Slipped the bottom tube in the bottom and adjusted to warp of the wing. Checked my level at the root and made sure it was level to the end as well. Using the scaffold to hold the wing in this position, I drilled the hole for the bolt at the root. I decided to leave this hole a 1/4" hole and will drill later the 3/16" hole up high later using the drill press after I take this tube off.
I decided next to finish the tube, barrel assembly. First, I did it wrong. Second, I had a backup and got it work but just. I ended up cutting the connecting tube too short and will need to order more to get it right. Here's what I should have done and will do for the other side. Set the control stick to neutral. Clamp the aileron to neutral. Screw on the connecting tube to the push-pull cable. Put the other rod end bearing and barrel next to the connecting tube and mark the bottom of the flange to the barrel. Take off the connecting tube and cut it off. Put the barrel onto the connecting tube and drill a 1/8" hole 3/8" from the end of the connecting tube with the barrel in place. Rivet the barrel into the connecting tube. Rotate the connecting tube 45 degrees and drill a second 1/8" hold 3/4" from the end of the connecting tube. Place a second rivet.
Things I learned: First, make the connecting tube as described above. Second, make the adjustment to the rear strut tube before assembly to make my job easier next time.
Overall, not a bad job. Here's some photos of one wing on. In the images, the scaffold is still under the wing. But, it's not supporting the wing at all. Just there in case the plane decides to tip on its own. I plan to get the second wing on next week and maybe Suzy can do some photos of the plane with both wings on. I'll put those images on Facebook for my friends to see.