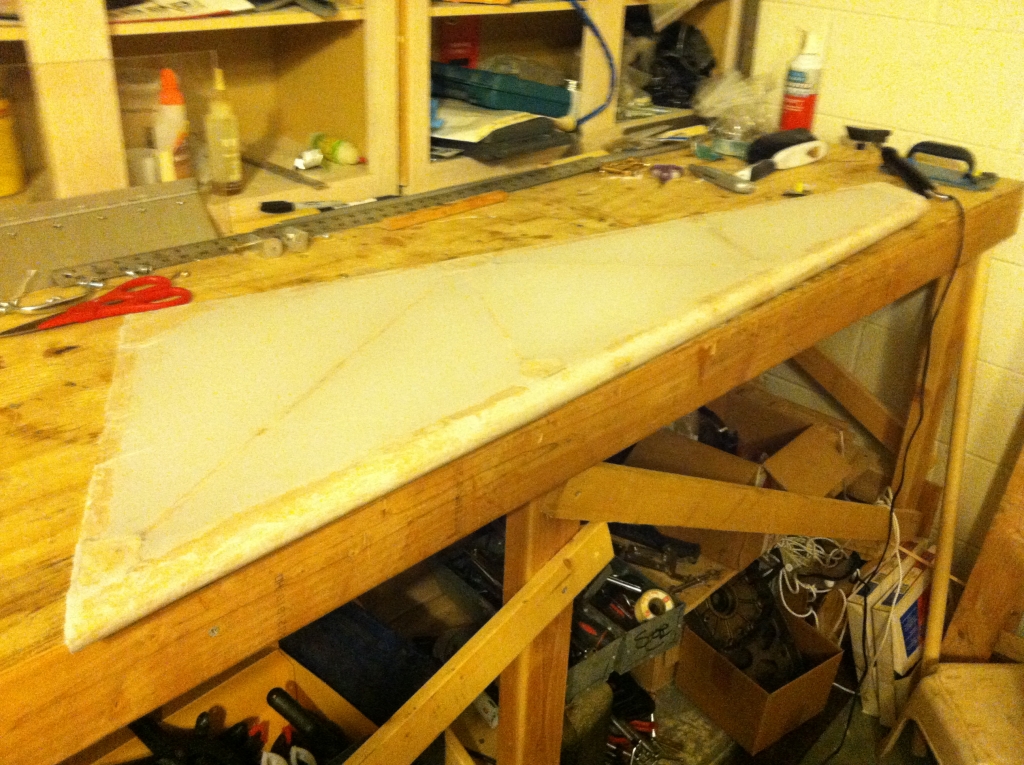
Covered the vertical stabilizer
04/13/2013
Covering
Covered the vertical stabilizer today. Still need to figure out my procedure and it looks like it's my first part. Major lesson learned was the plastic cups cannot be used to hold the glue. they disintegrate. First, cleaned out the garage. After got that done, Maria was up so I had her help me cut out the cloth for the vertical stabilizer. The material was lighter than I thought. Started gluing it to the wood and it got a got a bit crooked. This got me frustrated but I continued. Saw a LOT of wrinkles but really couldn't do anything about it. Found that it was easier to glue then roll the leading edge which resulted in fewer winkles. Glued the other side down using that method.
Heated the iron up to 220 and heat the glued parts to get them to stick better. Brought it up to 250 and then the magic happened. Most of the winkle disappeared! Trimmed the edges and took it in to show the girls. Heated the iron up to 300 and all the winkles were pretty much gone. A few bad spots but I think those will go when I prime, paint, and varnish it.
Idea to make it easier. First, use the clamps to fit the material into position first. Use paper cups instead of plastic. Finally, glue down 12 - 18 inches in sections one at a time. I'll try those when I glue the rudder and I'll see what happens.

